Uploading to VIDIZMO Portal Library using Drag-and-Drop
VIDIZMO offers a convenient way for users to upload their content directly to the Portal. Dragging and dropping files simplifies adding content to the portal library, making it quicker than the traditional upload button method. The drag-and-drop feature works seamlessly across all VIDIZMO products - including Enterprisetube, Digital Evidence Management, and Redaction.
With the drag-and-drop feature, users no longer need to go through multiple pages or upload files individually to organize them into different folders or cases. Instead, they can drop their selected files directly into their preferred folder, making organizing and managing files quicker. This feature also supports bulk uploads, allowing users to drag and drop several files at once. Additionally, files uploaded via drag-and-drop follow any automatic processing or upload settings already configured on your Portal.
Prerequisites
Users must have the permissions to upload content to either their Media Manager/Evidence Library or their Private Library to utilize the drag-and-drop functionality. Here are the permissions:
-
Upload and Manage My Content: Allows users to upload and manage their content within their private library (My Library). Users with this access can use the drag-and-drop feature within their private library.
-
Upload and Manage All Content: Allows users to upload and manage content on Portal's Media Manager/Evidence Library and their own private library. Users with this permission can use the drag-and-drop on those pages.
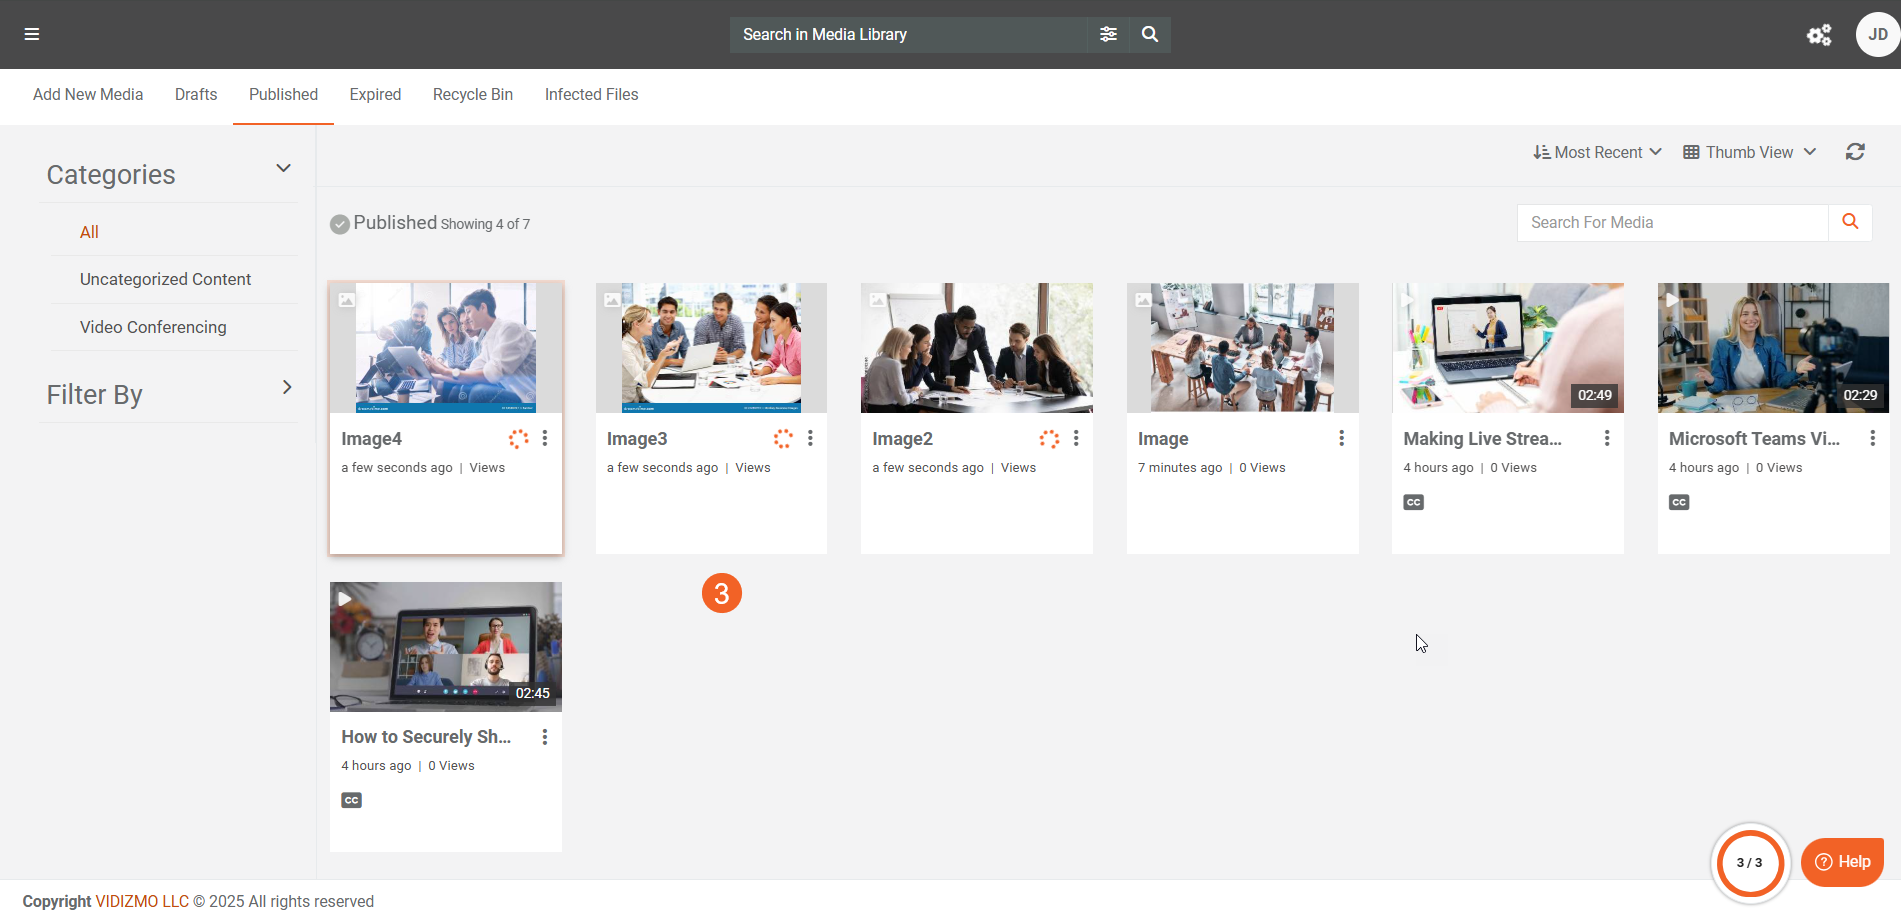
Upload Files using Drag-and-Drop
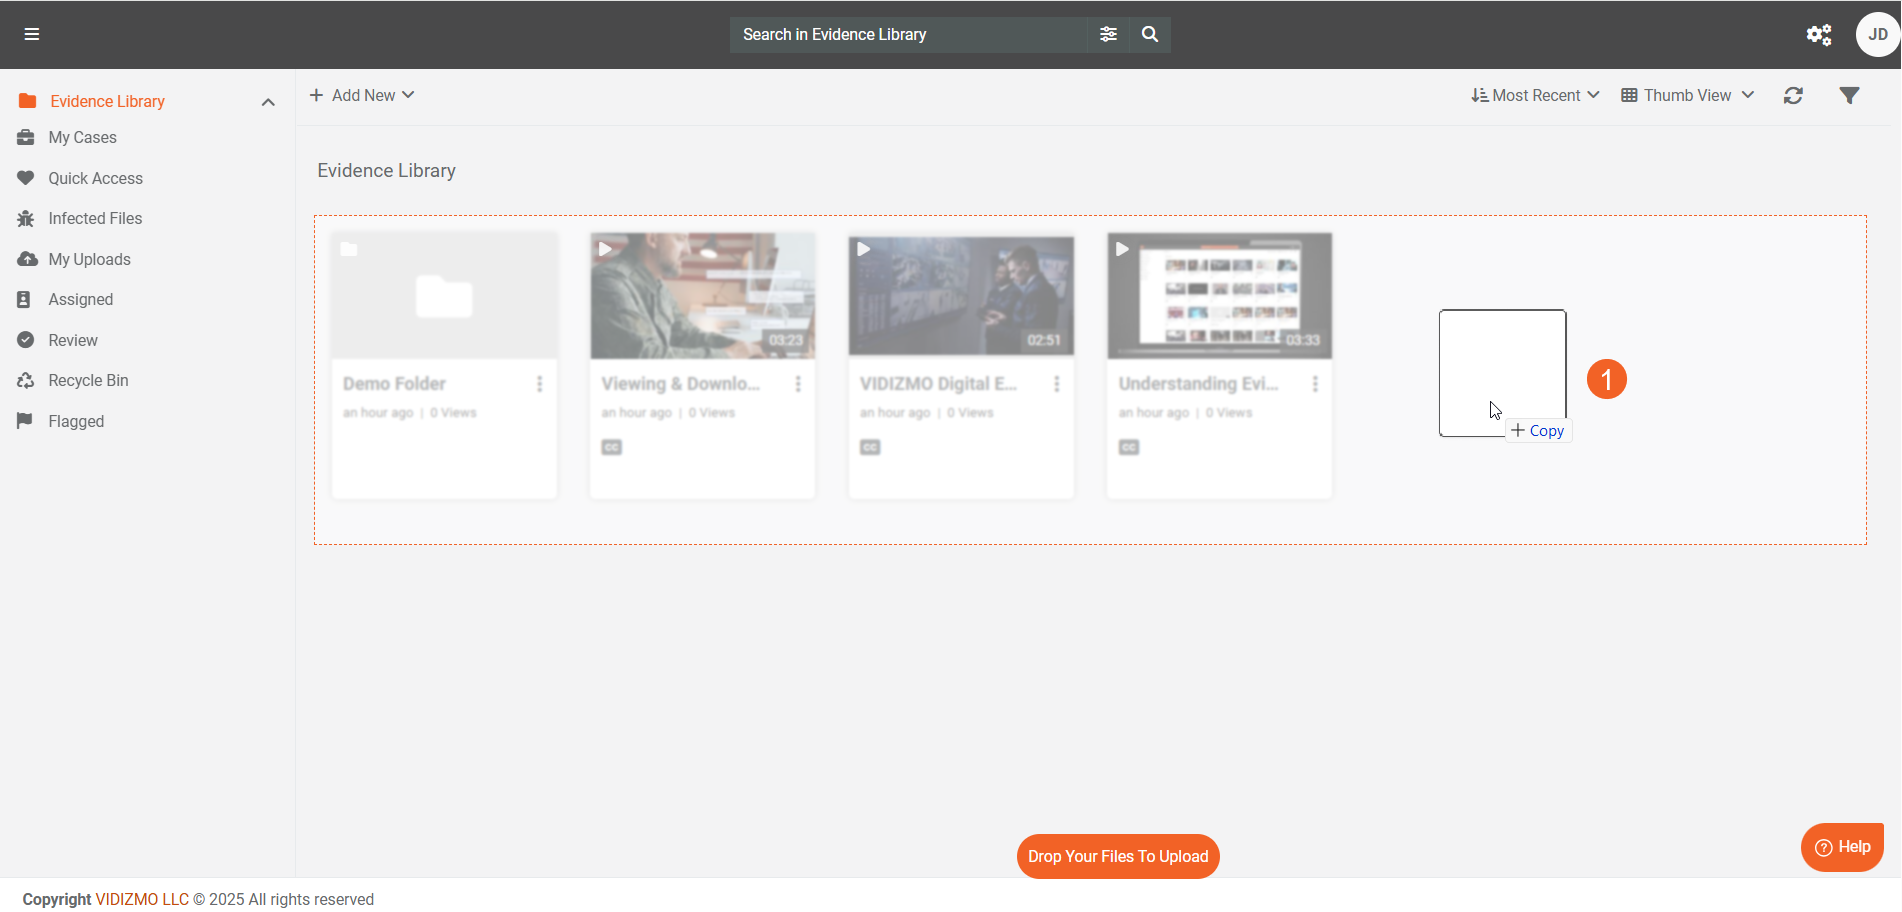
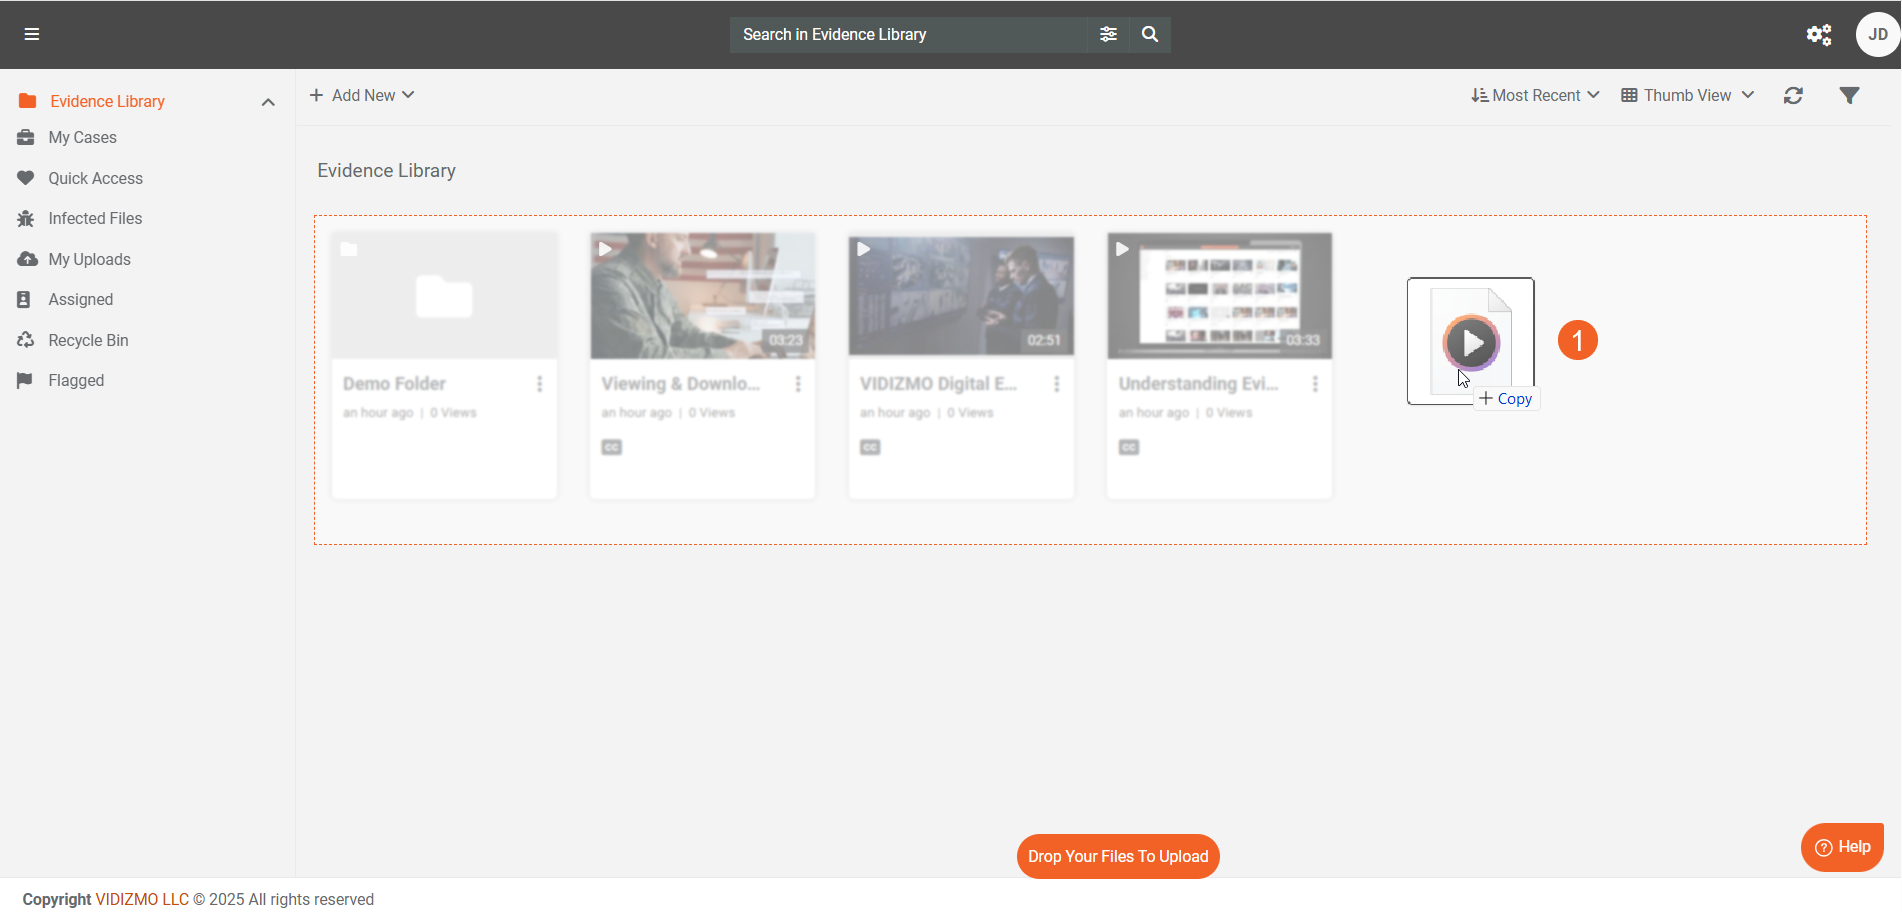
- Navigate to your Portal's Evidence Library, Media Manager or My Library page (based on your permissions and product).
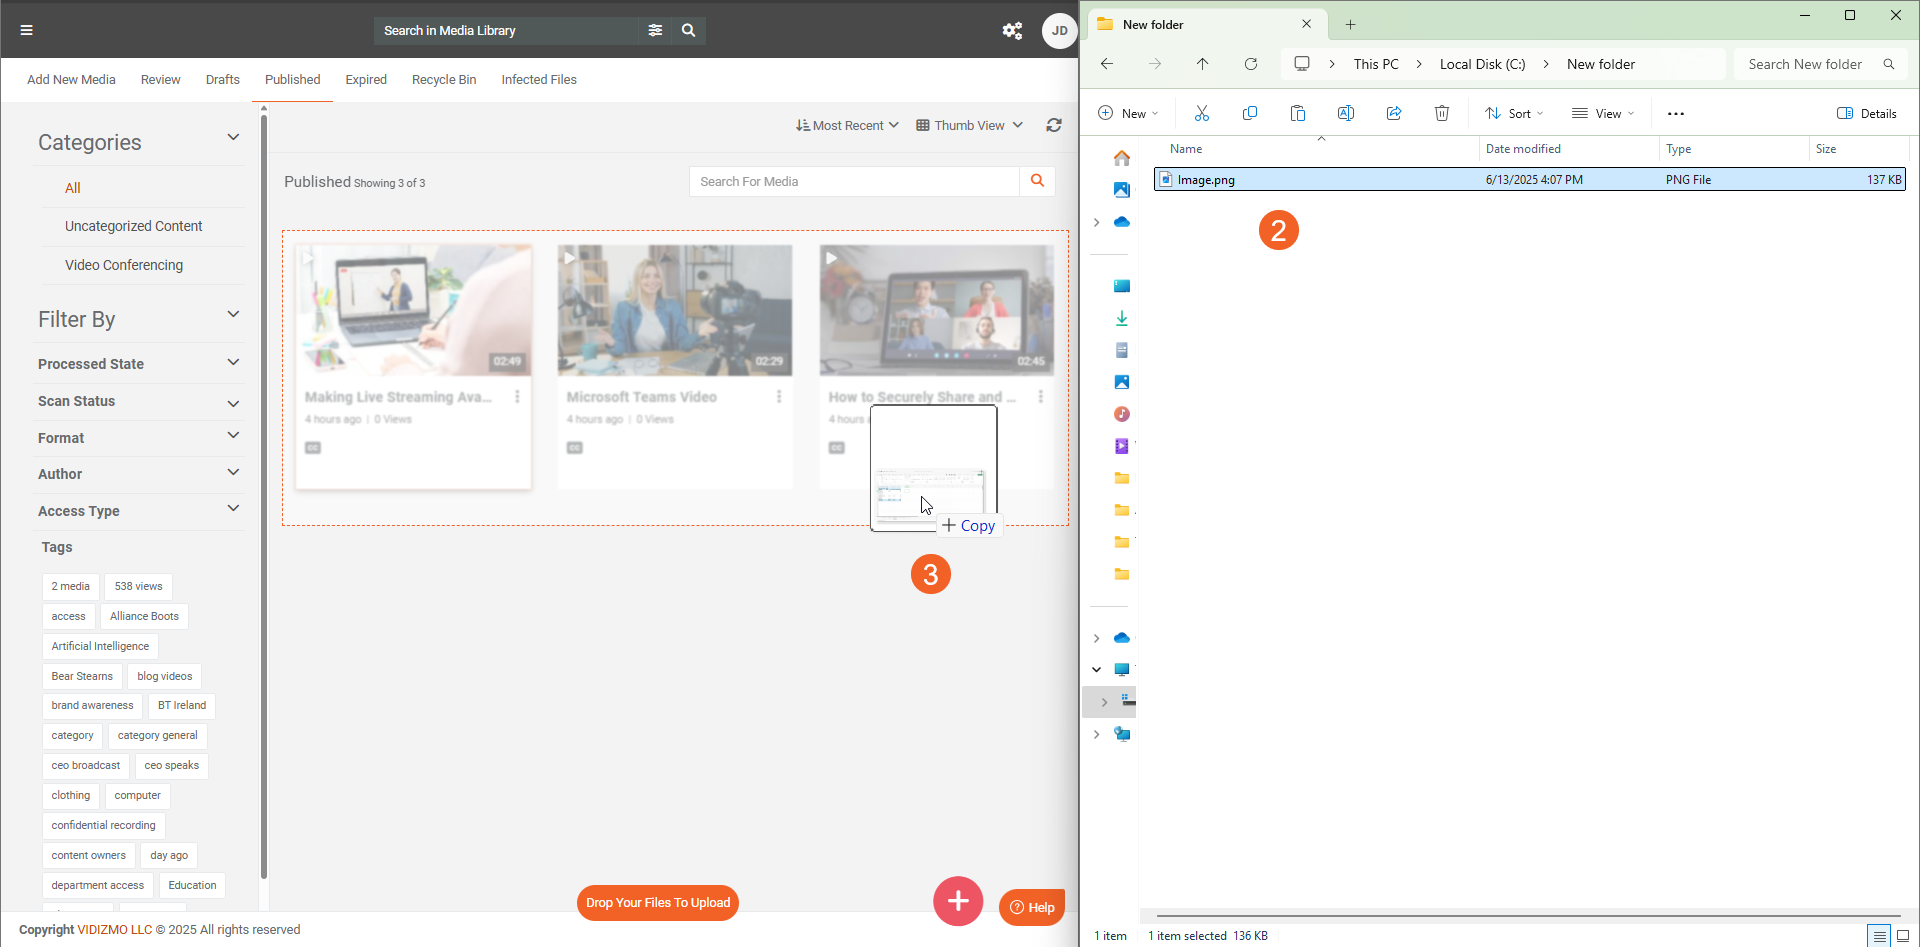
- Drag the file from your computer and onto the Portal's page.
- Drop the file directly into the highlighted area.
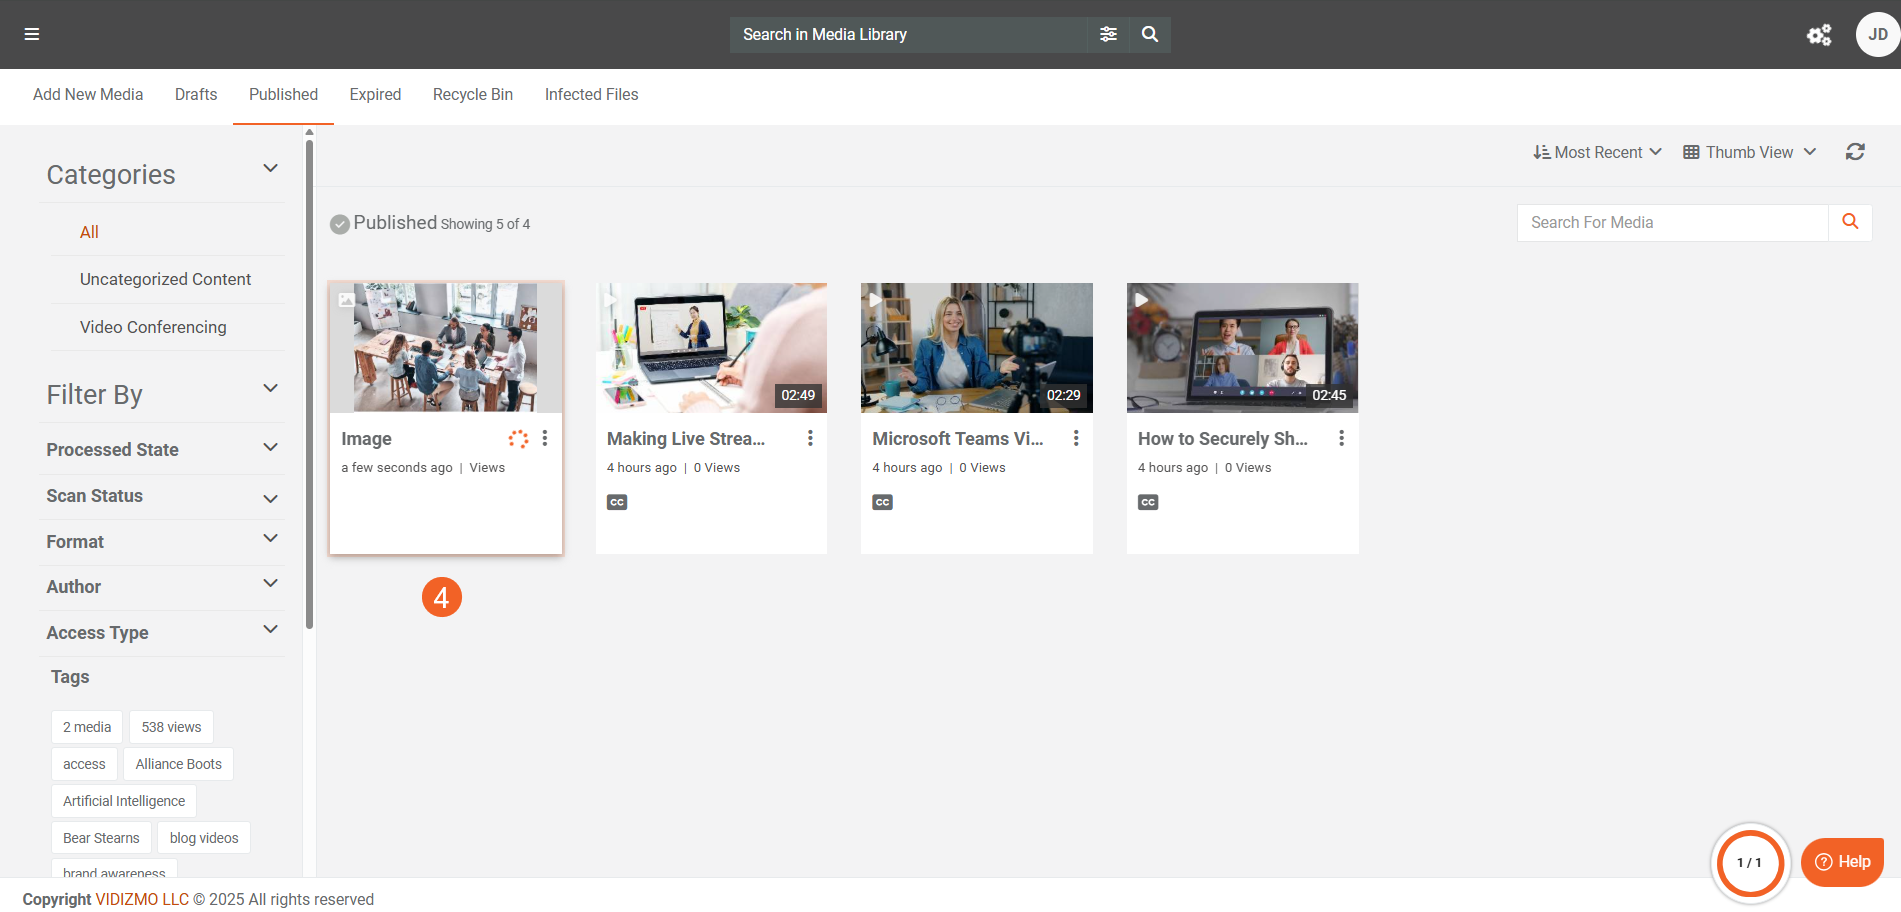
- The file will be automatically published and processed based on your default publishing settings and any automatic processing configurations set in the enabled applications on your Portal.
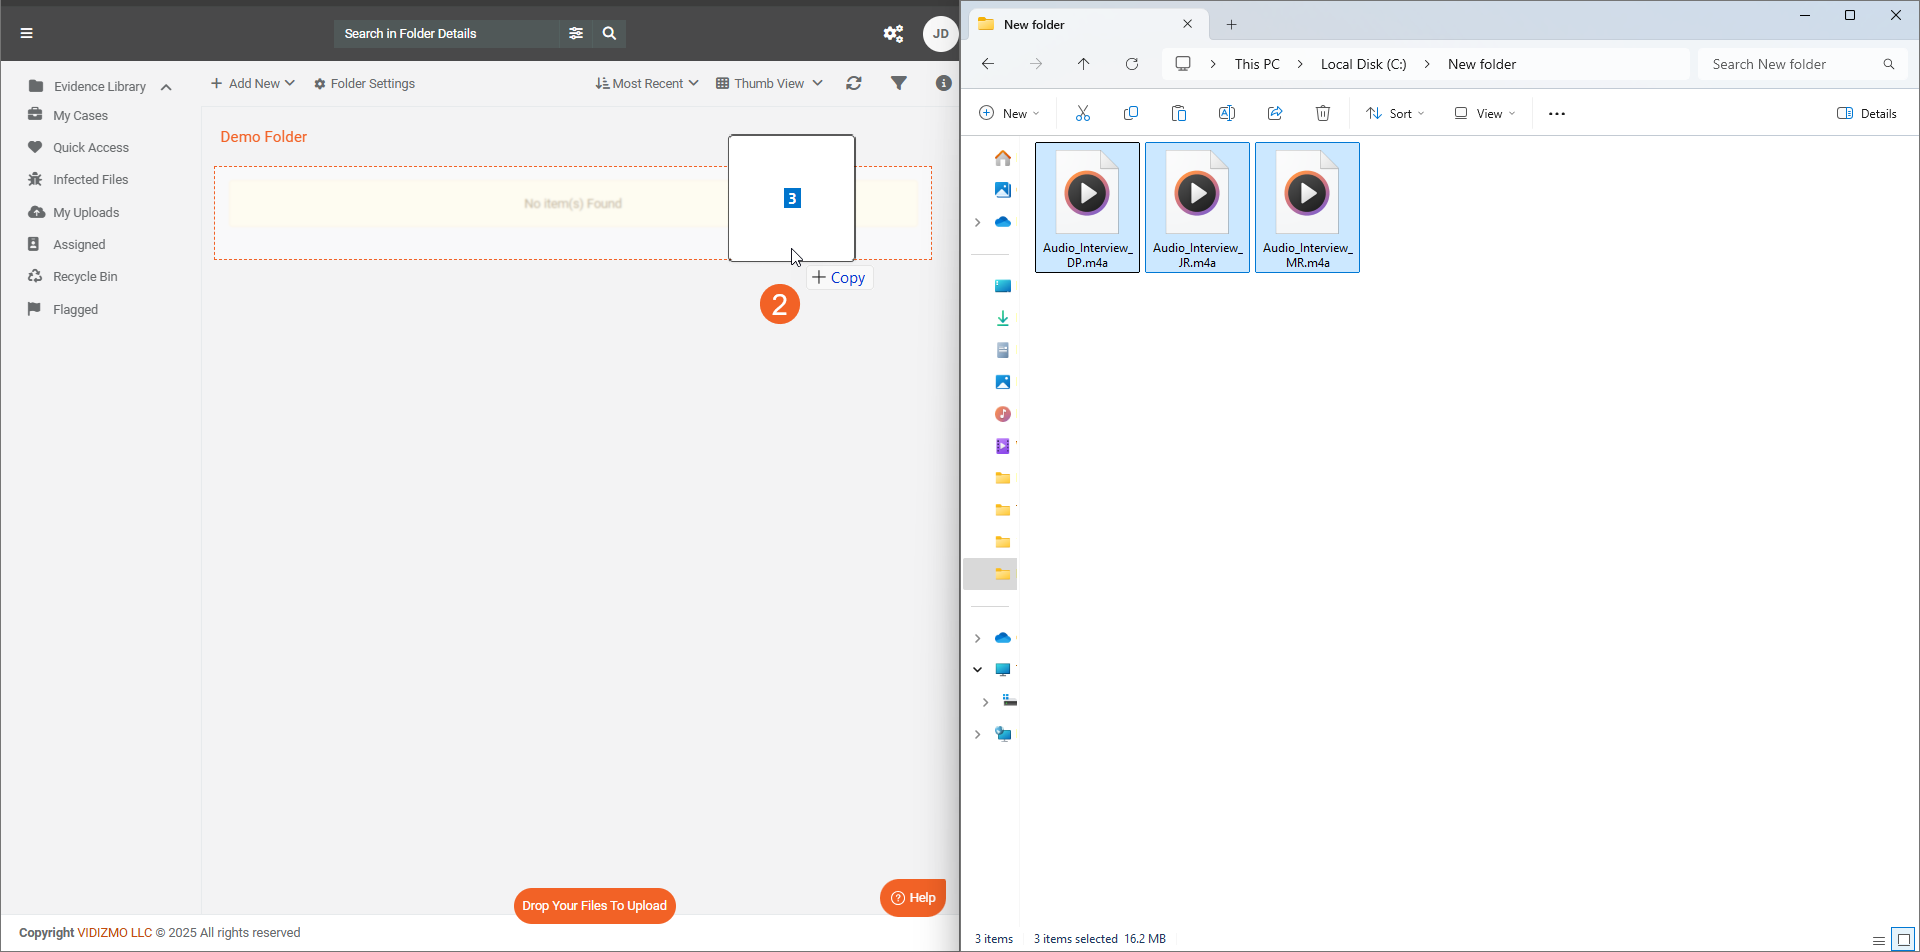
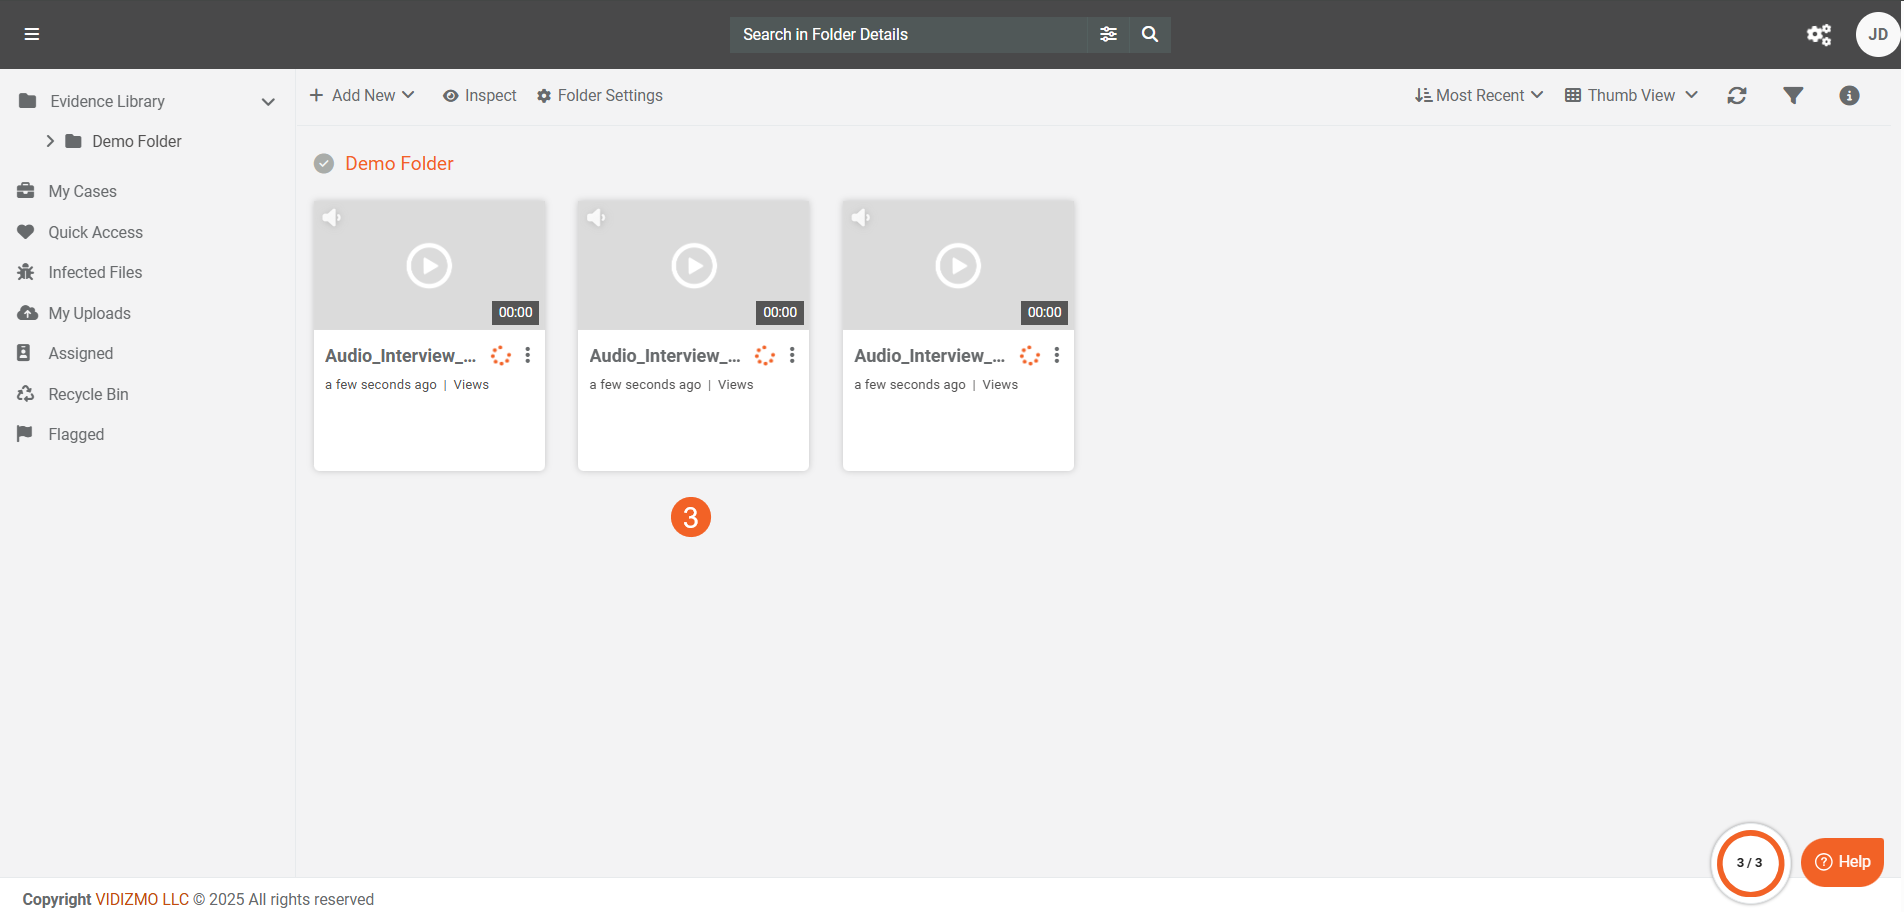
Bulk Upload
- Select the desired files on your computer to upload them in bulk.
- Drag and drop the selected files into the highlighted area on the Portal's library.
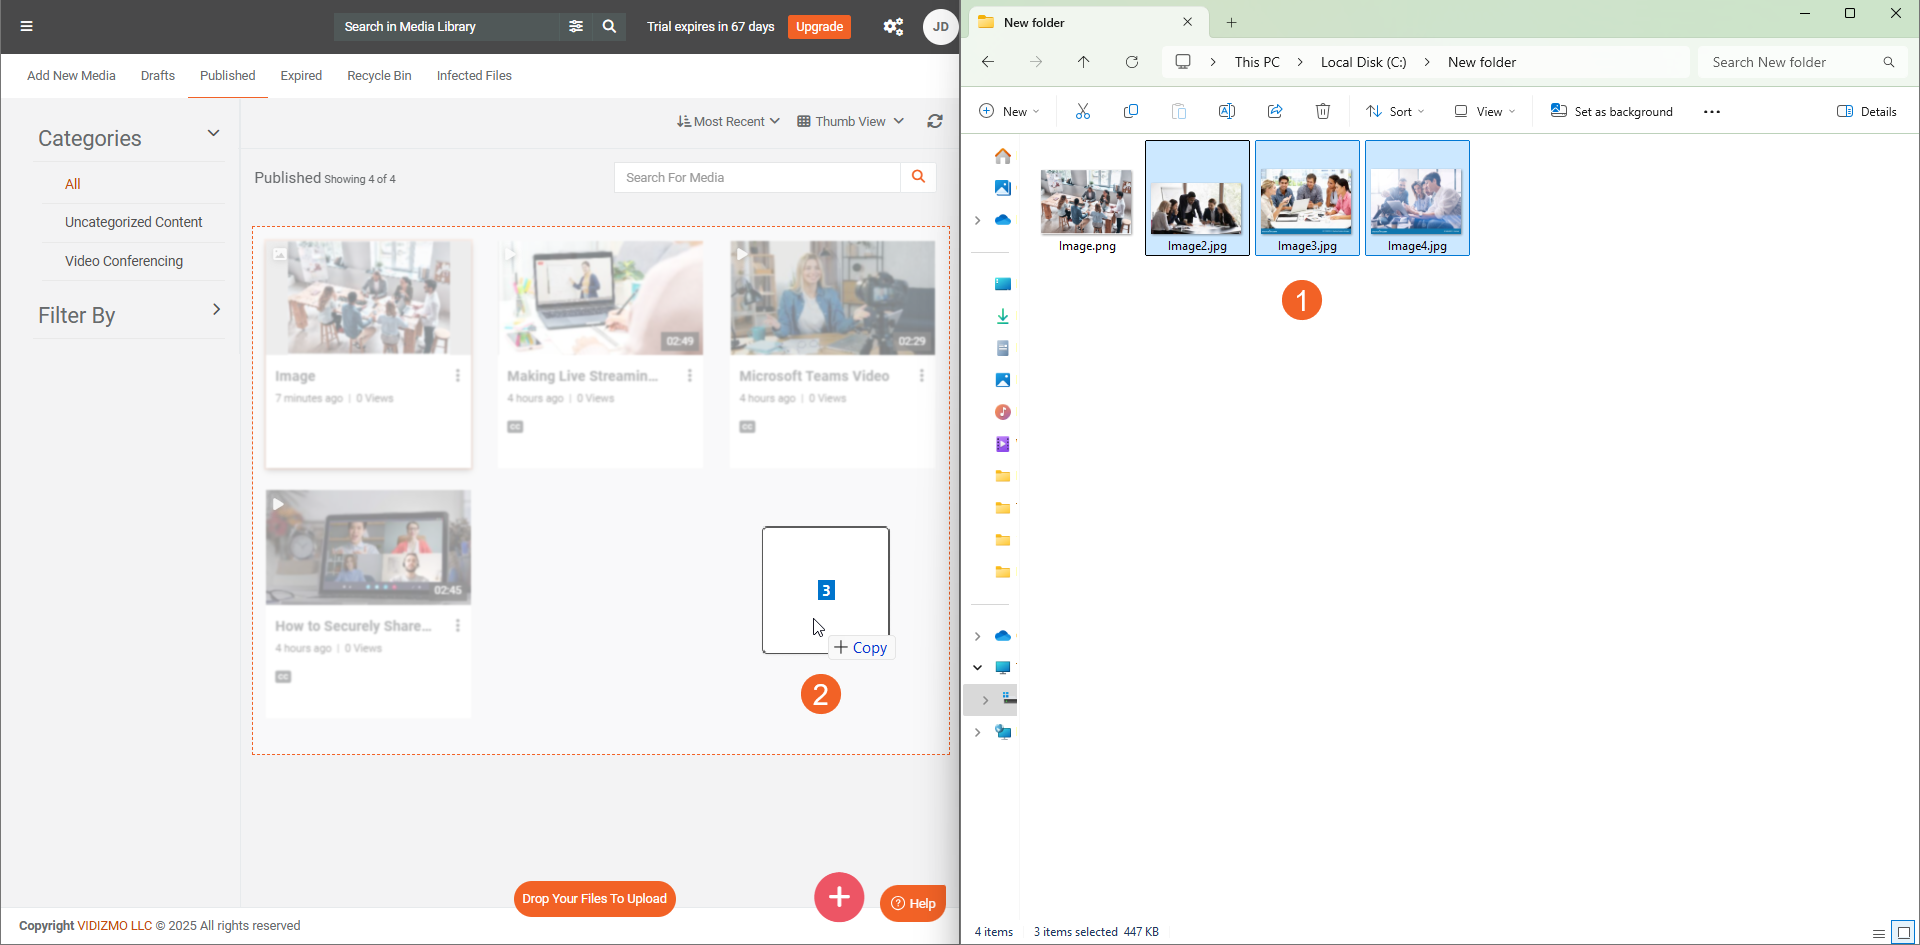
- The files uploaded in bulk will be automatically published and processed based on your default publishing settings and any automatic processing configurations in the enabled applications on your Portal.
Upload in a Case or Folder
In addition to uploading files to the Portal Library, users can also use the drag-and-drop functionality to upload files directly into Cases or Folders.
- Navigate to the desired Case or Folder where you want to upload your file and click to open it. You can also explore and upload to subfolders if you prefer.
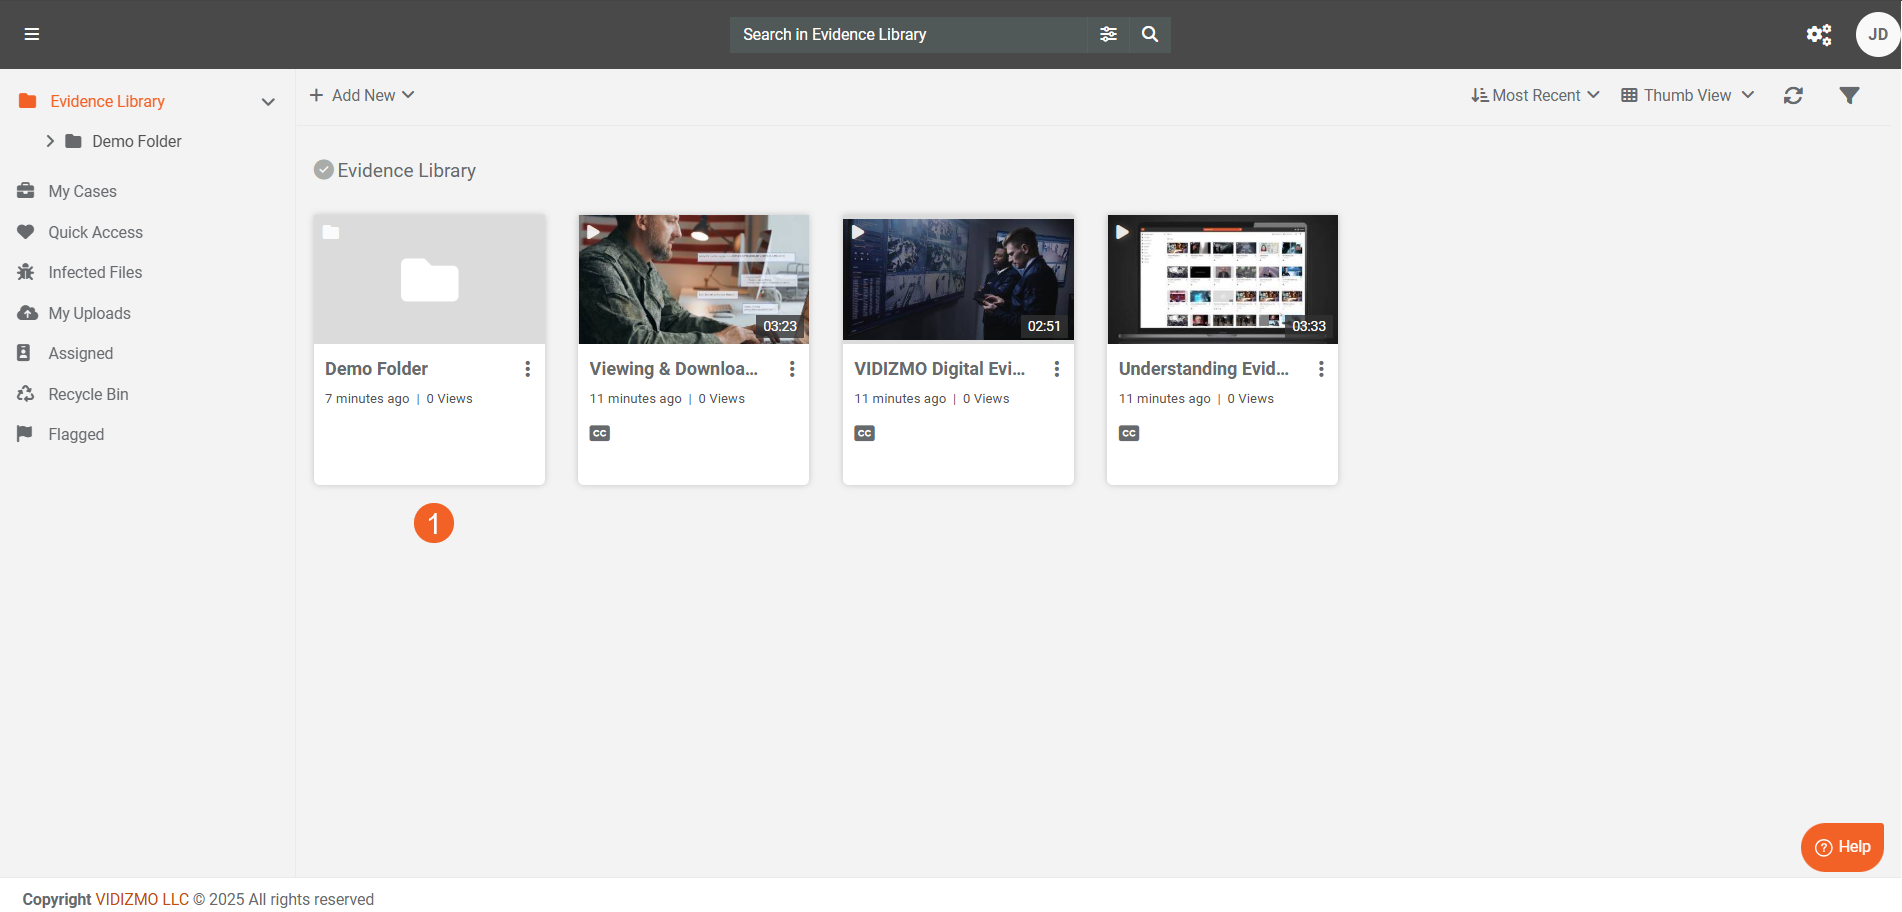
- Once inside, drag the file(s) from your computer and drop them onto the highlighted area.
- The file(s) will be uploaded directly to that specific case or folder. Like uploading in the library, the file(s) are automatically published and processed based on your configured settings.
Drag-and-Drop Behaviour
The drag-and-drop functionality is designed to work seamlessly with features that affect upload behaviour, including content moderation and custom uploads. This ensures that files uploaded using this method are subject to the same rules and settings as those uploaded to the Portal by any other means.
Impact of Content Moderation
When you use drag-and-drop to upload a file, it is subject to content moderation settings.
- With content moderation enabled, drag and drop the file(s) to your Portal.
- Upon upload, a notification will inform you that your content is awaiting approval.
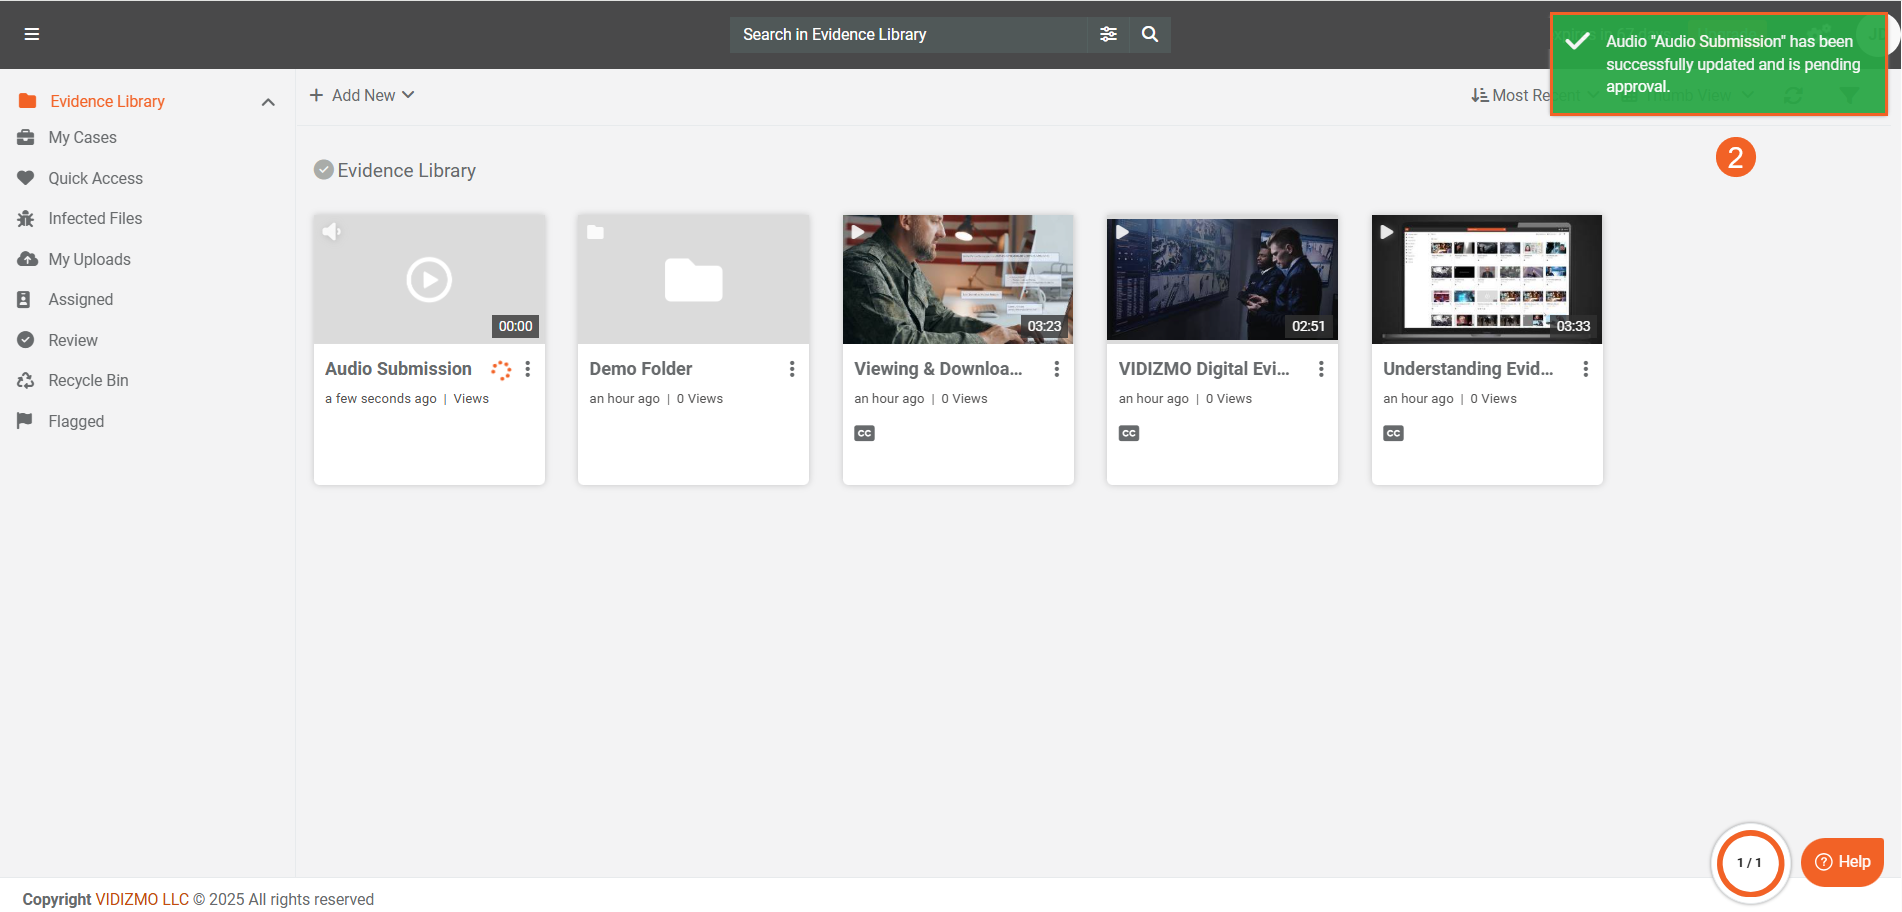
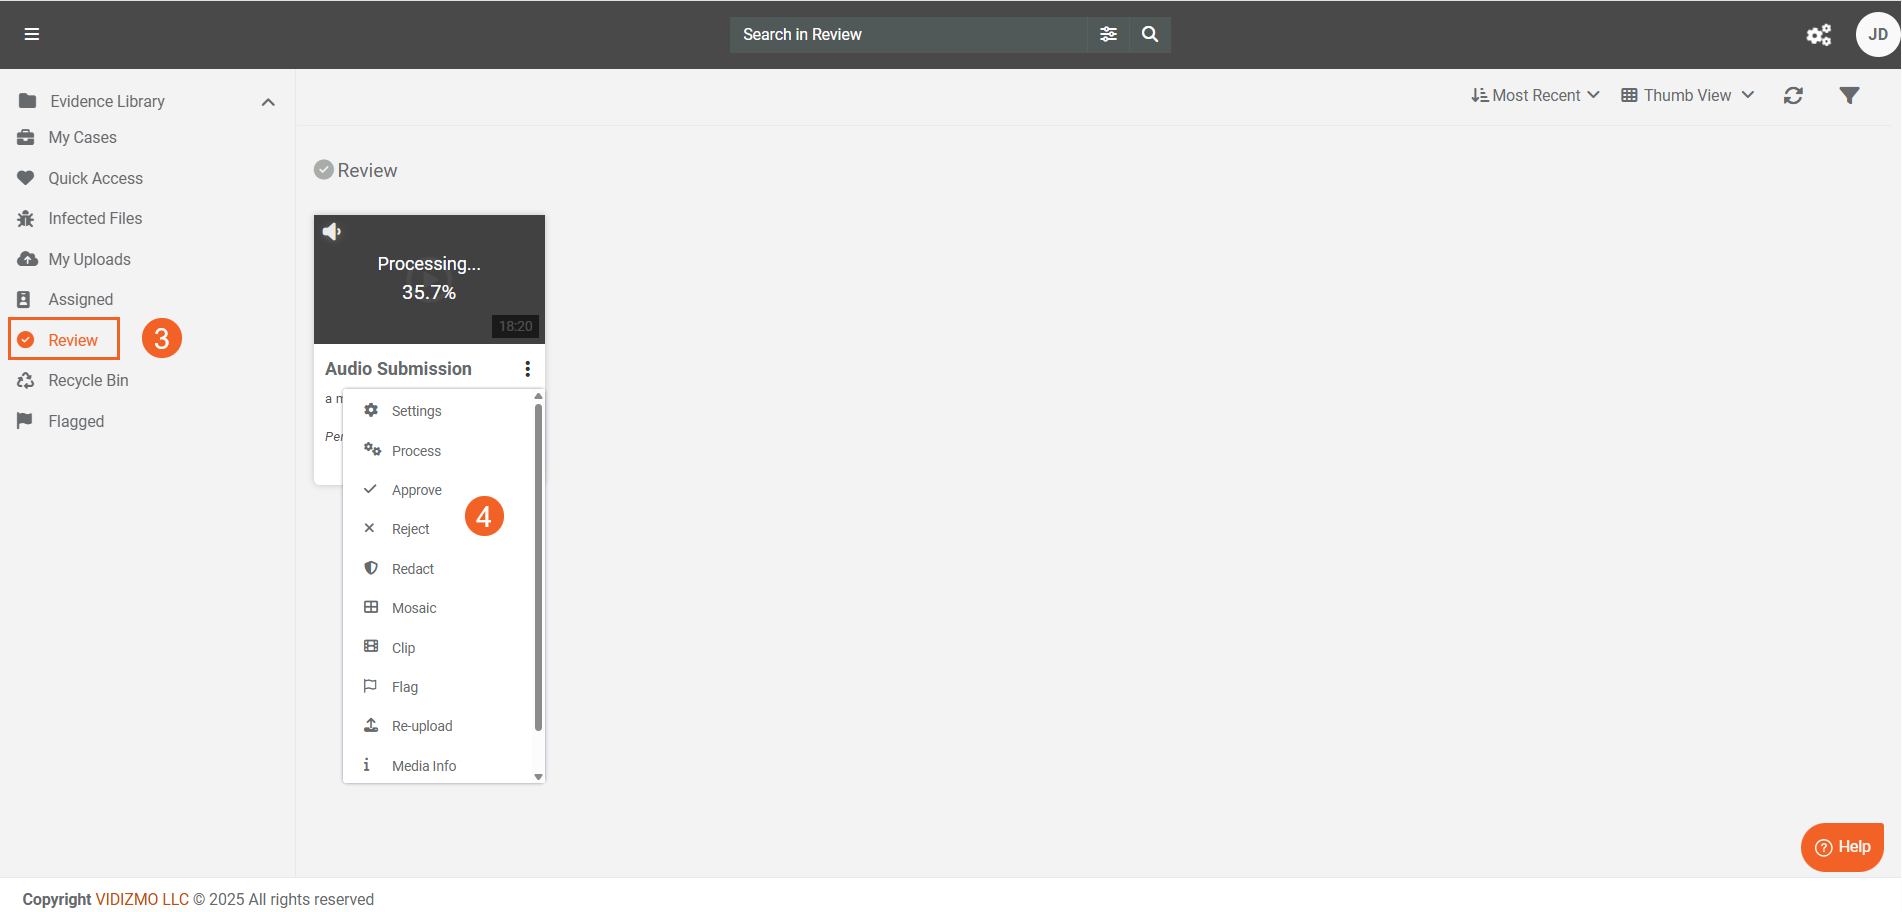
- The uploaded file(s) goes to the Review tab from the library. If you have feature permissions for Content Moderation, click the Review Tab.
- You will find your uploaded file(s) here, on which you can perform your desired moderation action. If approved, the file moves or is published to the exact location (whether the library or folder or a subfolder) to where you initially dragged and dropped uploaded it.
For more information on content moderation, see How to Configure Portal's Content Moderation Policy.
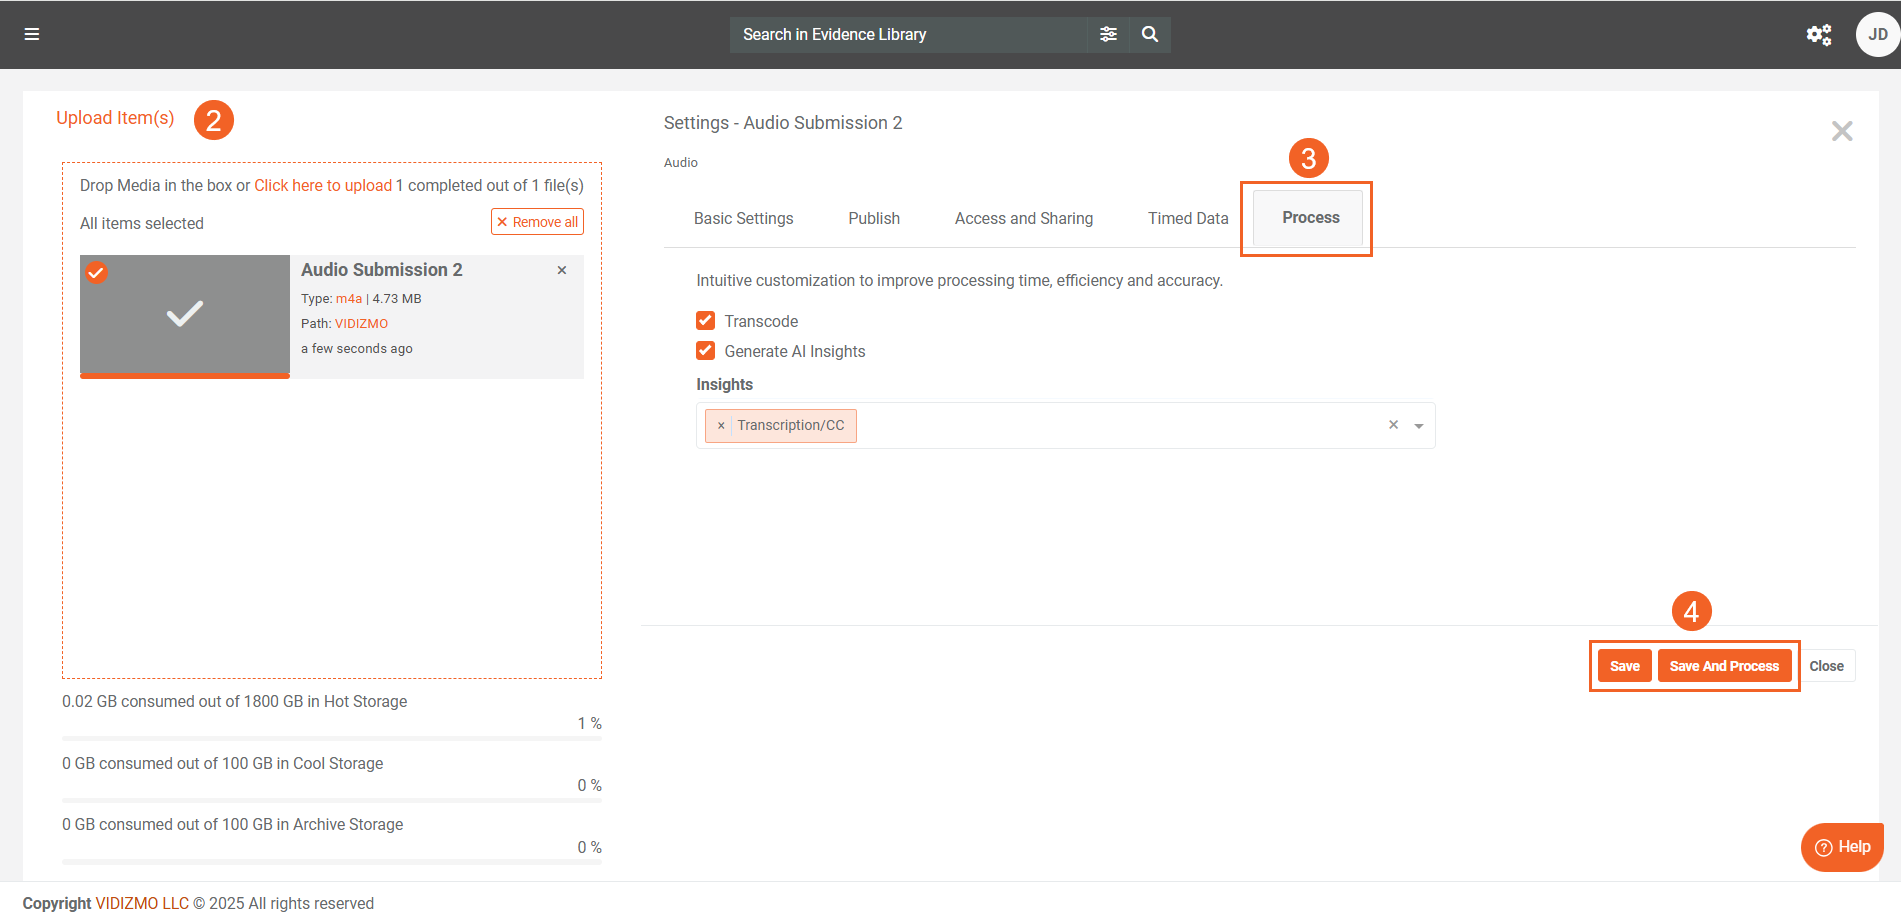
Impact of Custom Upload
If custom upload settings (also known as Advanced Upload) are enabled, the upload process has additional steps.
- With custom upload settings enabled, drag and drop the file(s) to your Portal.
- After dropping the file(s), you will be redirected to the upload settings page.
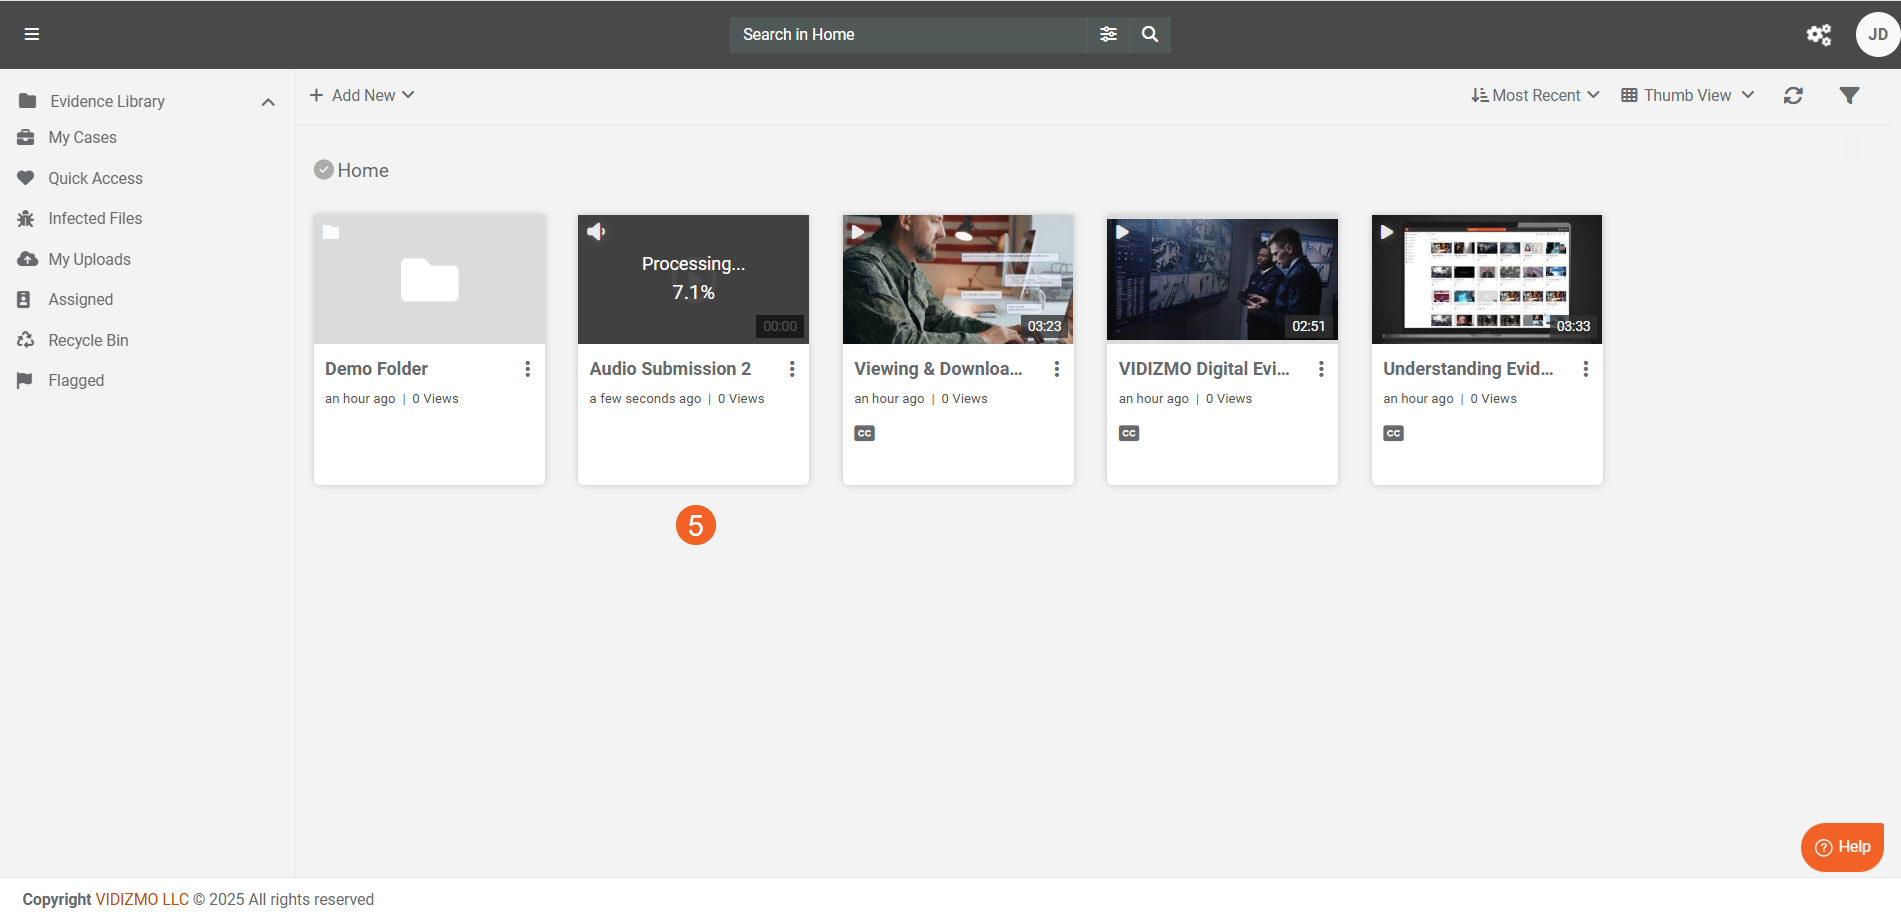
- On the upload settings page, you will see the Process Tab, which indicates that custom processing options are enabled during upload.
- Once you are done with the settings, click Save or Save and Close to proceed.
- Once the upload is complete, you can find the file in the location (library, case, or folder) where it was uploaded.
For more details on custom upload settings, refer to the How-to Custom Upload Media.