Uploading Evidence: A Step-by-Step Guide
VIDIZMO's Digital Evidence Management System lets you upload digital evidence such as video recordings, CCTV footage, audio files, images, and documents to your Portal. Evidence uploaded to VIDIZMO is securely stored, tracked through Chain of Custody, and preserved for legislative or investigative proceedings.
After an upload finishes, VIDIZMO starts processing the file by triggering a workflow. The most common activity is transcoding, which creates optimized renditions so your evidence plays smoothly across devices and bandwidths. Processing may also include AI-powered insights, depending on your Portal's configuration.
This article explains how to upload evidence, configure evidence settings, upload in bulk, and add evidence to a case.
Prerequisites
To upload evidence to your Portal, you need the required feature permissions. In VIDIZMO, feature permissions are granted through groups. Ensure you belong to a group that provides one of the following:
- Upload and manage my content: Lets you upload and manage your items in your private library. Commonly included in the Contributor group.
- Upload and manage all content: Lets you upload and manage all items across the Portal and access the Evidence Library, in addition to your private library. Commonly included in administrative groups such as Content Manager.
To upload evidence directly to a case, you also need the Case feature enabled in your group. For supported file types, see Understanding Content Formats.
Upload Evidence
Follow these steps to upload evidence to your Portal:
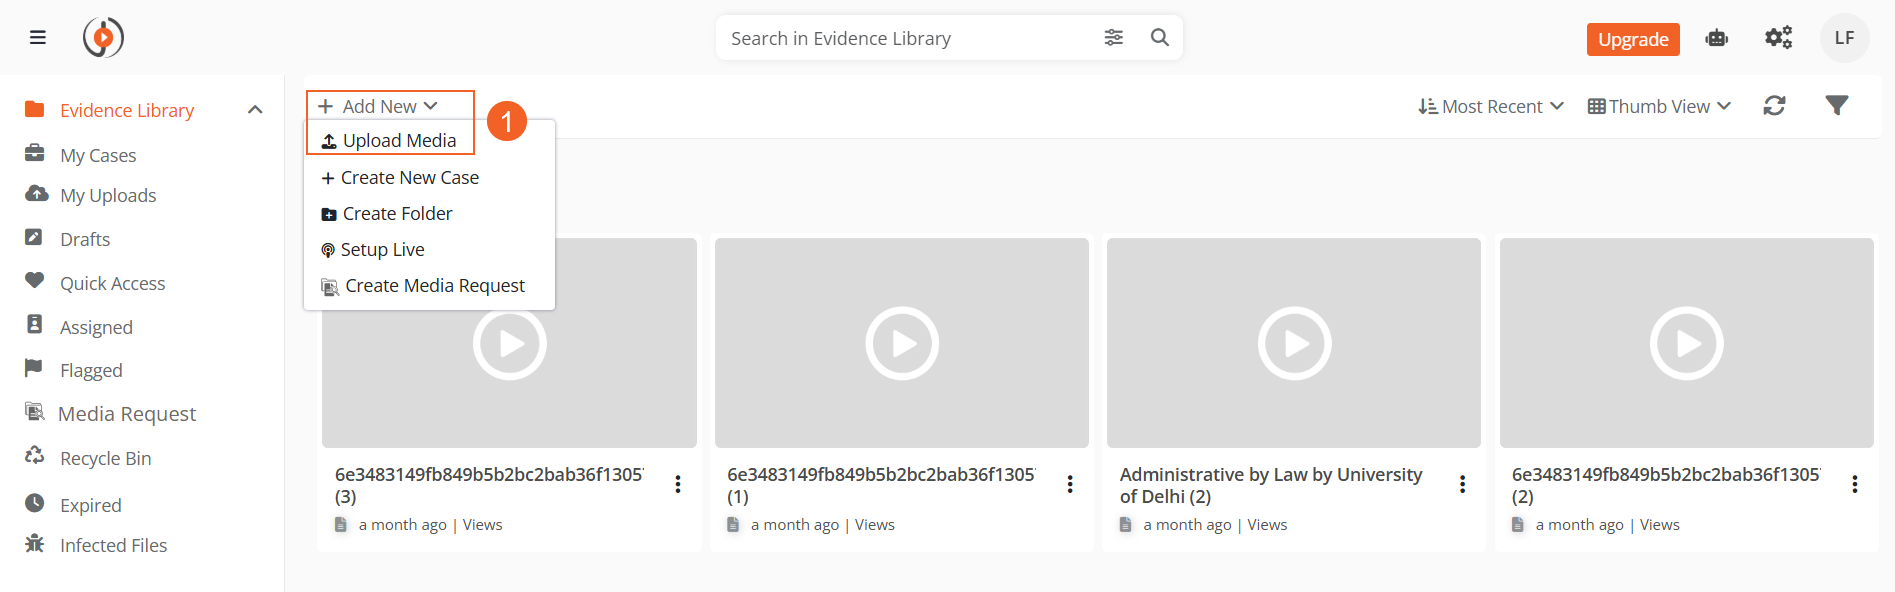
- From the toolbar at the top of the page, select Add New. Select Upload Media.
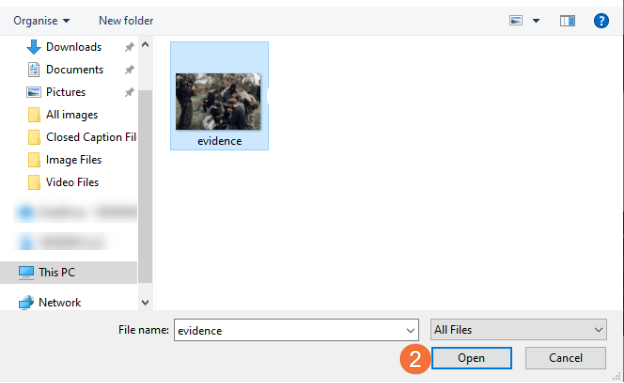
- A file browser dialog opens. Navigate to the folder on your computer where the evidence is stored, select the file, and select Open.
NOTE: To upload multiple files at once, hold Ctrl and select each file before selecting Open. You can also drag and drop files directly into the upload area on the upload page. See Uploading to VIDIZMO Portal Library using Drag-and-Drop for details.
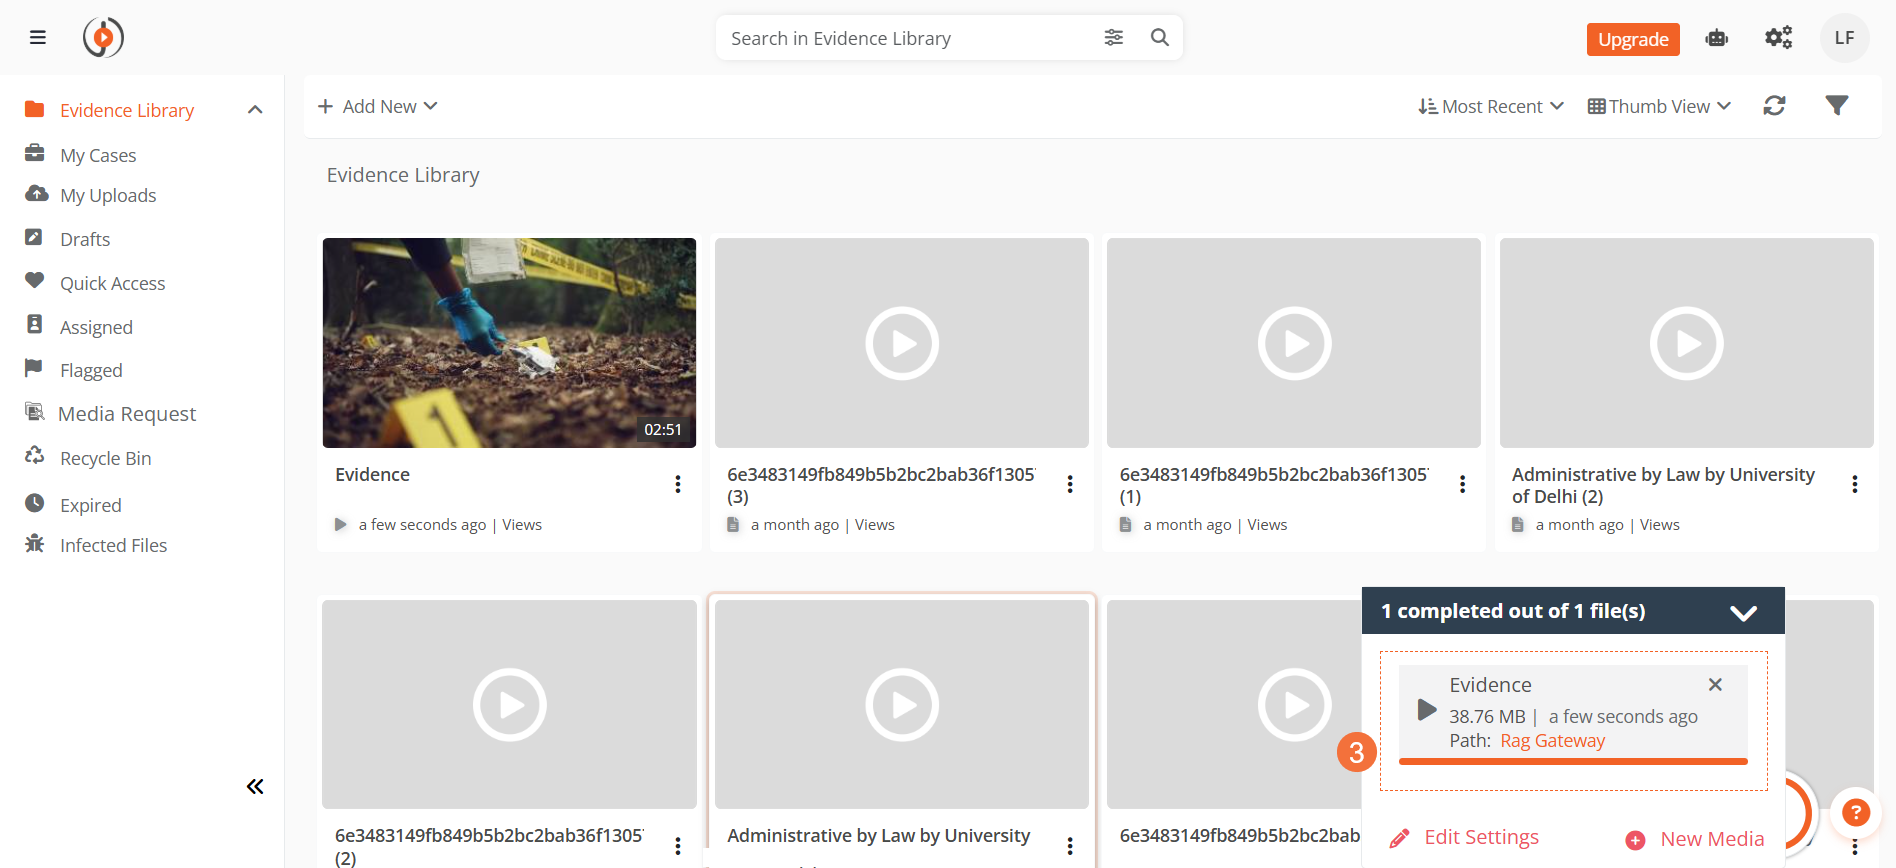
- Monitor the upload progress in the upload tray at the bottom-right of the screen. When the upload is complete, the evidence appears in the Evidence Library or the case, depending on where you started the upload.
You can edit the settings of the uploaded evidence or add additional media by selecting New Media from the upload tray.
Note:
If the upload is interrupted due to a network issue or browser refresh, upload the same file again. VIDIZMO automatically resumes the upload from the last completed chunk.
Configuring Evidence Settings
You can configure evidence settings during or after the upload. Open the settings page by selecting the evidence item in the upload tray, or by selecting Add New Evidence at the bottom of the upload tray.
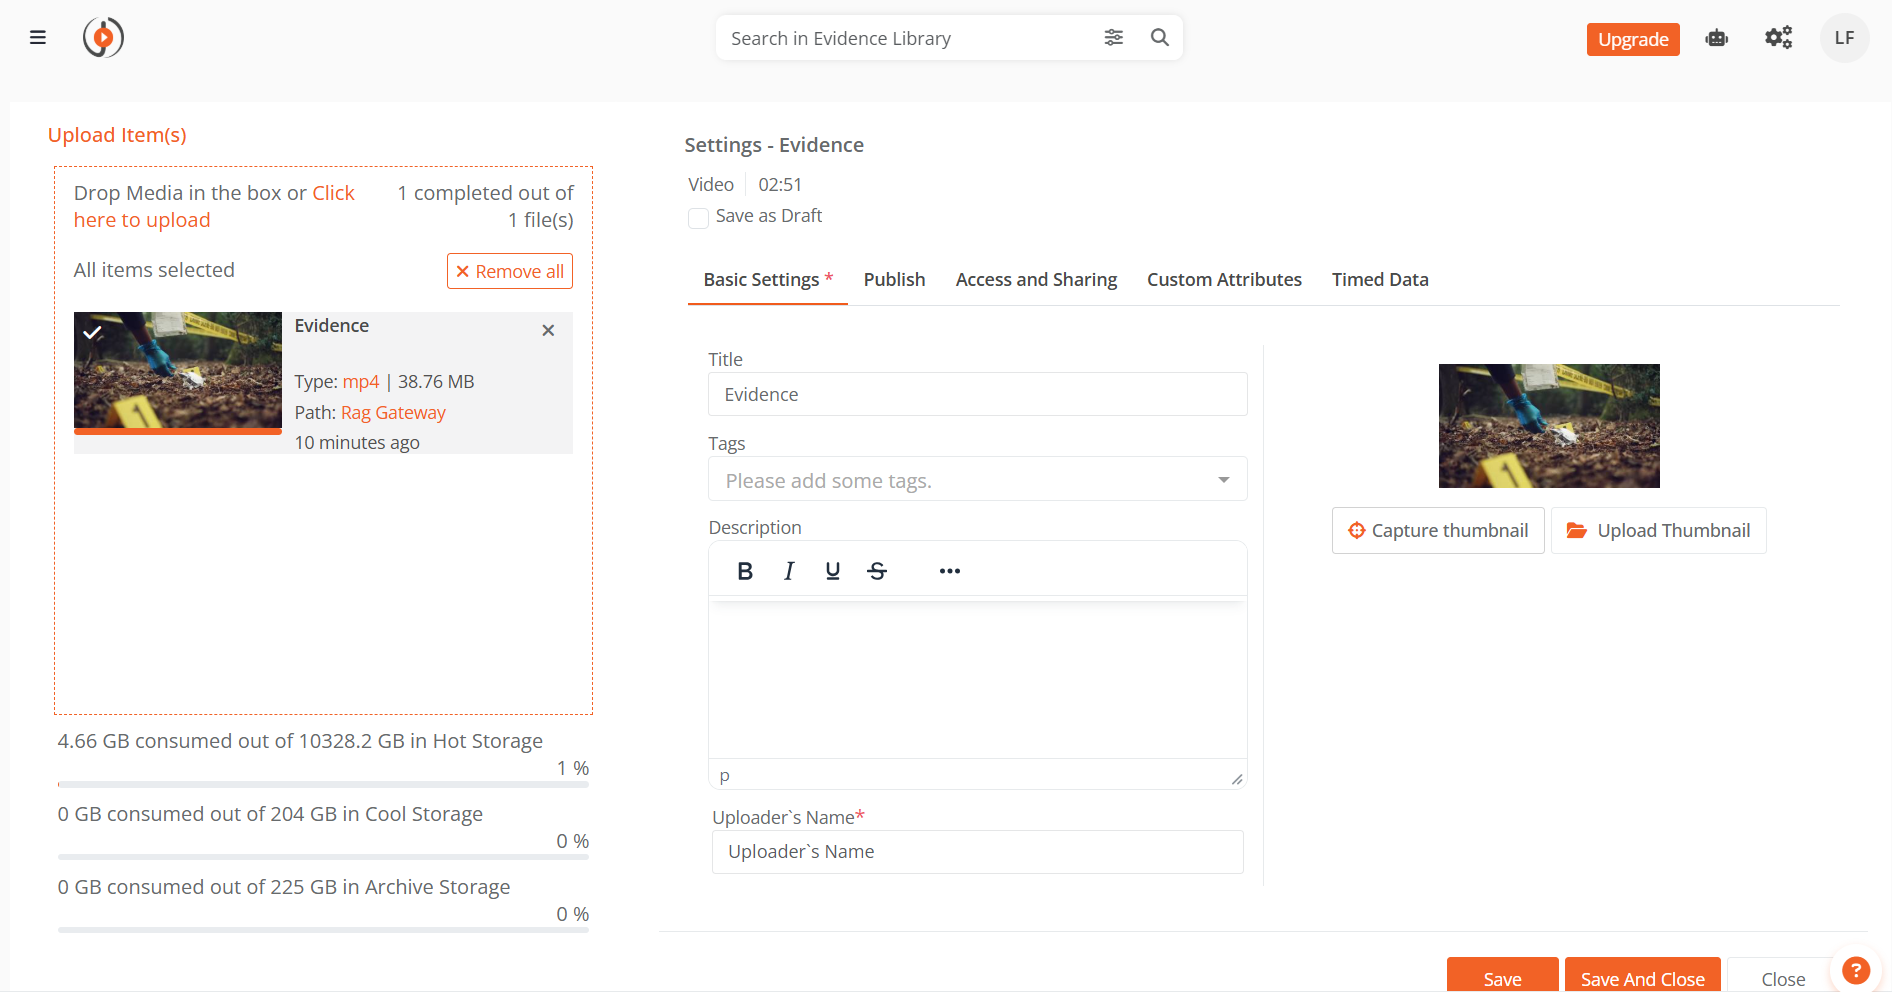
The settings page includes the following tabs (availability depends on your role):
- Basic Settings: Set the title, folder, tags, description, and author's name.
- Publish: Configure player template, download, embed, and comment options.
- Access: Define who can access the evidence and set availability dates.
- Sharing: Configure limited sharing with specific users or groups.
- Advanced Settings: Access additional configuration options.
Select Save as Draft at the top of the page if you want to save the evidence without publishing it. Drafts do not appear in the Evidence Library until published.
For a detailed explanation of each setting, see Understanding Media Settings.
Upload Evidence in Bulk
To upload and configure multiple evidence files at once:
-
Follow the steps in Upload Evidence and select multiple files from your computer or use the tray to edit settings.
-
On the upload page, select all items, and then select Bulk Edit to apply shared settings to all selected files.
-
From the predefined Tags, select the relevant tags.
-
Provide a Description for the evidence.
-
Update the Publish, Access, and Sharing tabs to apply settings to all selected items.
-
Select Save and Close to complete the bulk upload.

Upload Evidence to a Case
To upload evidence directly into a specific case:
-
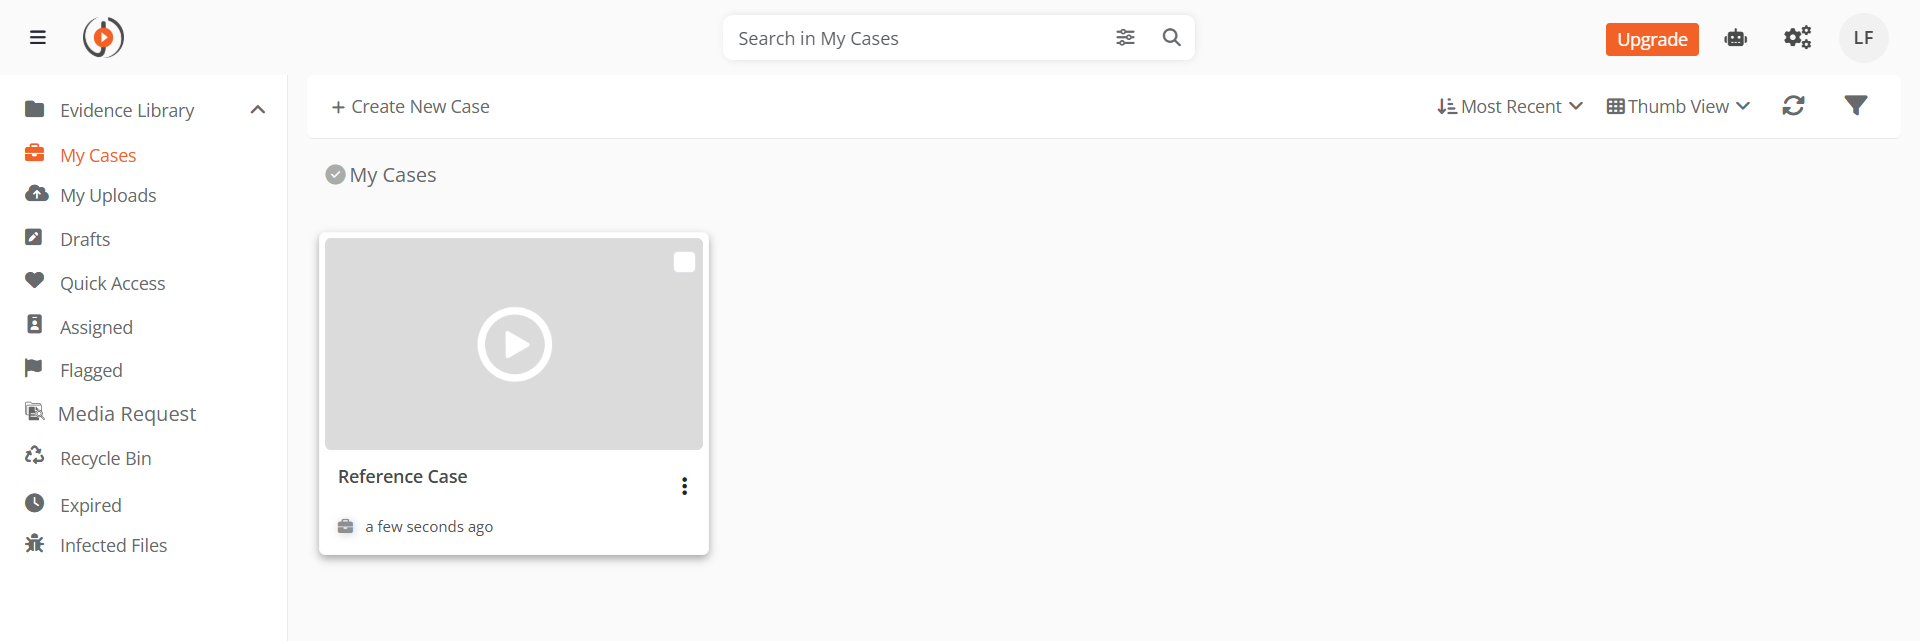
In the left navigation panel, select My Cases.
-
Select the case where you want to upload evidence. You can also open a case from the Home screen.
-
On the case details page, select Upload Evidence from the toolbar.
-
Follow the steps in Upload Evidence to select files, monitor progress, and configure settings. The evidence appears inside the case.
What Happens After Upload
After you upload evidence, VIDIZMO processes the file in the background. Depending on your portal settings, the following may occur:
- Transcoding: VIDIZMO creates optimized renditions for playback across devices. Playback may be unavailable until transcoding completes.
- AI processing: If enabled, VIDIZMO generates insights such as transcriptions, object detection, or face recognition.
- Content moderation: If enabled, evidence is sent to the Review tab for approval before appearing in the library or case. See How to Approve or Reject Evidence under Review.
- Chain of Custody: VIDIZMO begins tracking Chain of Custody from the point of upload. See How to View Evidence Chain of Custody.
Related articles
- How to View Evidences and Cases Assigned to me
- Uploading to VIDIZMO Portal Library using Drag-and-Drop
- How to Create and Delete a Case
- How to Create & Manage Folders in DEM
- Understanding Folders in DEMS
- How to Approve or Reject an Evidence under Review