How to Upload and Extract ZIP File in VIDIZMO
VIDIZMO's Digital Evidence Management (DEM) supports uploading compressed ZIP files, allowing you to store and manage large amounts of data efficiently. You can upload ZIP files containing multimedia files such as videos, images, audio recordings, or entire disk drive contents, then extract and organize the contents within the platform.
This feature saves storage space, improves upload and download speeds, and simplifies the process of managing large data sets. After extraction, the folder hierarchy from the original ZIP file is maintained.
Prerequisites
- Membership in a group with Upload and manage content feature enabled, or a CAL that grants this permission. By default, this feature is enabled in the Content Manager group for managing all Portal content, and in the Contributor group for managing your own content.
- Membership in a group with Compressed feature enabled, or a CAL that grants this permission. This is a Portal-level add-on that must be enabled in security groups.
Upload a Compressed Archive File
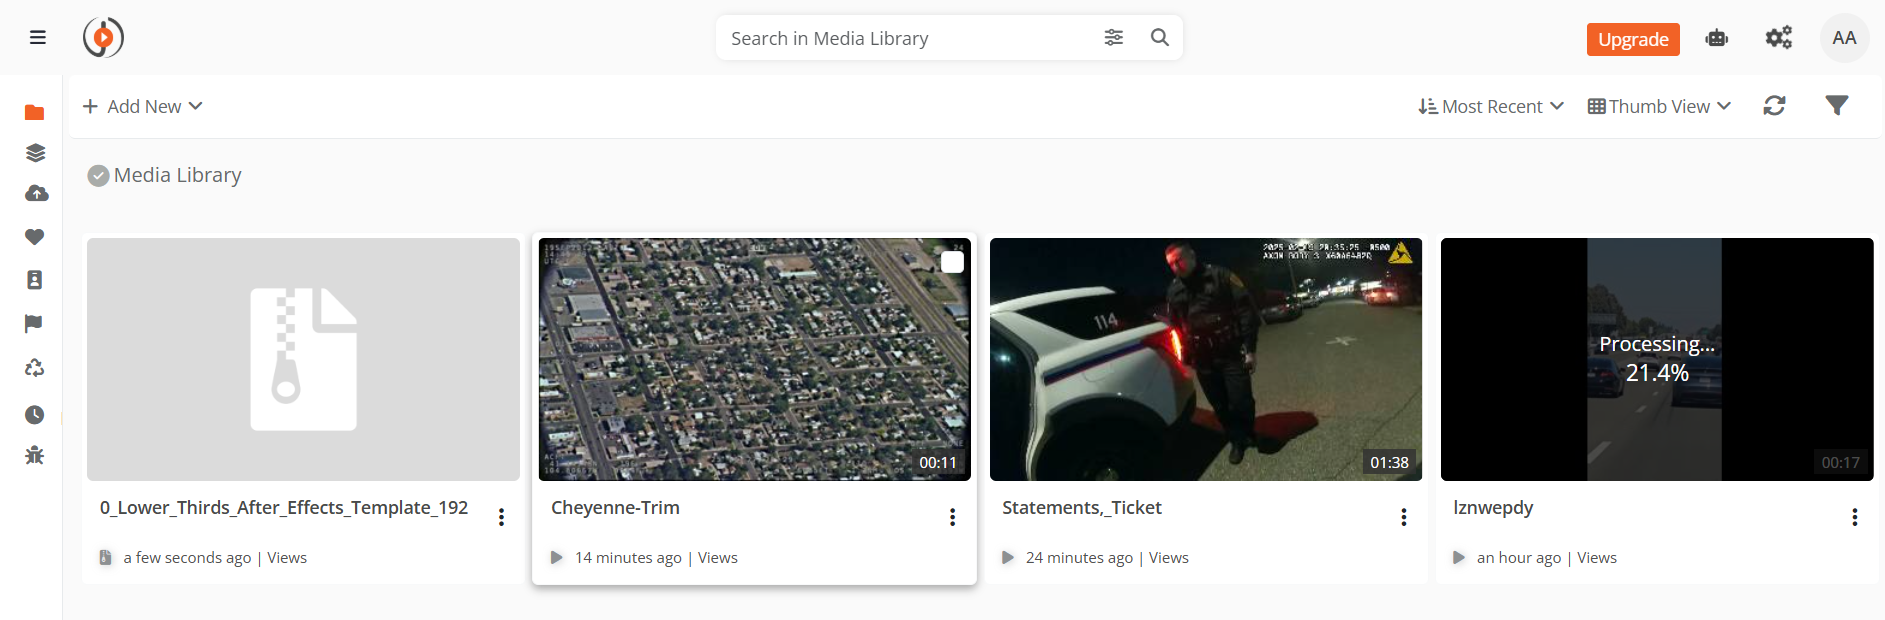
- In the Evidence Library, select + New > Upload Evidence.
- Select the ZIP file you want to upload, then select Open.
- The file uploads and is published to the Evidence Library.
NOTE: Currently, only
.zipfile types are supported in the DEM product package. Other compressed formats are uploaded as Miscellaneous file types.
If the browser fails to respond during upload or the internet connection drops, the system resumes uploading from the point where the upload was interrupted rather than starting over.
Preview a Compressed Archive File
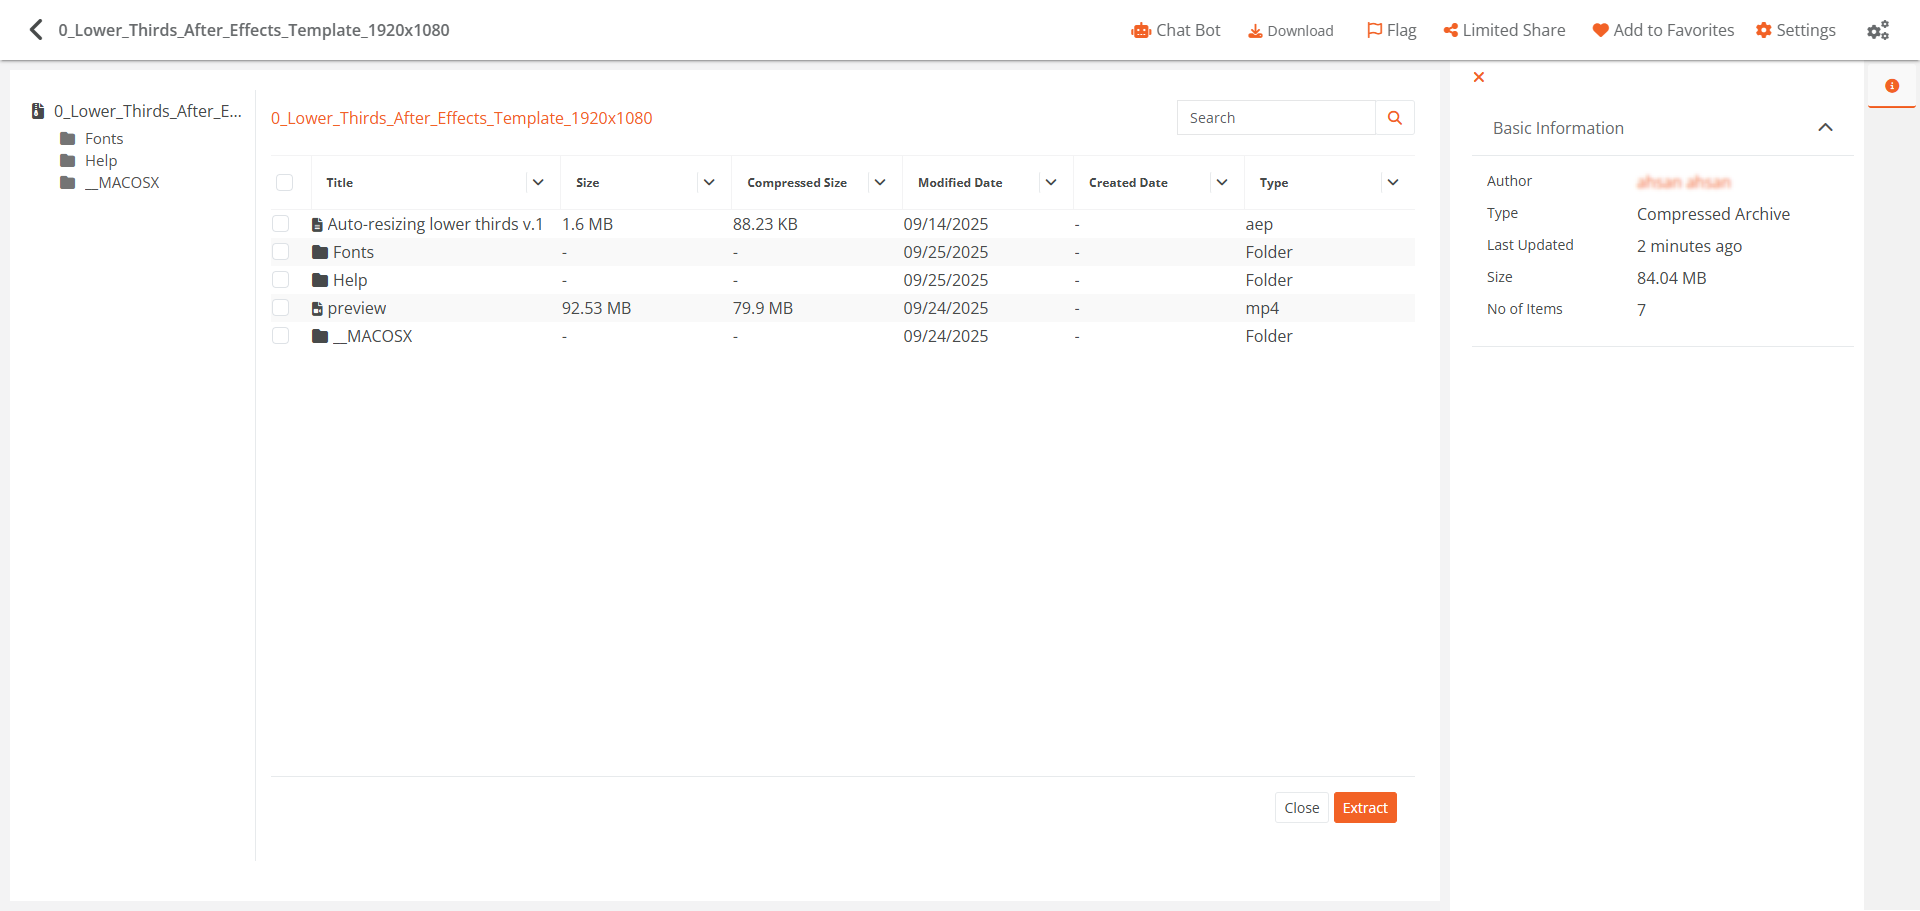
- In the Evidence Library, select the uploaded ZIP file.
- The Compressed Archive Preview page opens, displaying the contents of the ZIP file.
- Use the Tree Hierarchy on the left to navigate through folders and files.
- Use the Search field to find specific files within the compressed archive.
- Use Filters to narrow down the displayed contents.
Extract a Compressed Archive File
- On the Compressed Archive Preview page, do one of the following:
- To extract the entire ZIP file, select Extract.
- To extract specific items, select the checkboxes next to the files or folders you want to extract, then select Extract. The count of selected items displays next to the Extract button.
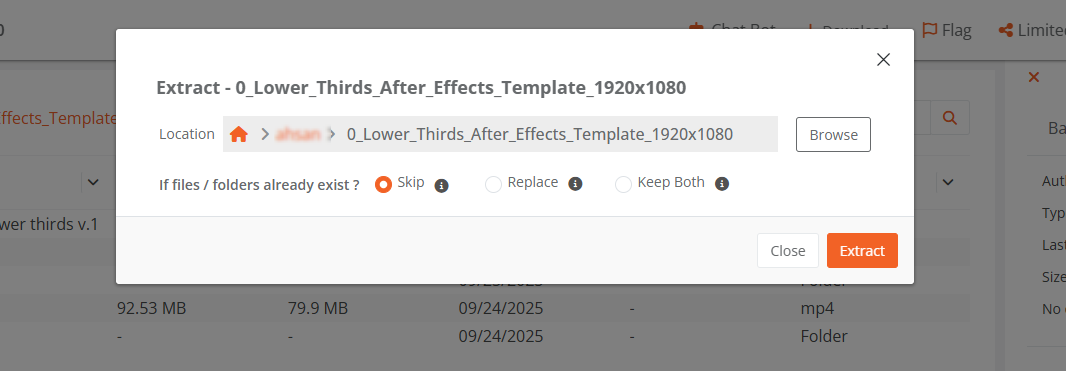
- In the Extract dialog:
- Path: By default, the extraction path is set to the location of the source ZIP file. You can change this to an existing case or folder, or create a new one.
- Overwrite Mode: Select how to handle files that already exist at the selected path.
- Select Extract.
A workflow initiates to extract the selected items. You can track the workflow progress from the workflow pane on the left side by selecting the workflow icon.
View Extracted Files and Folders
- Navigate to the path where you extracted the items.
- A folder is created with the name of the compressed file, containing the extracted contents.
The original folder hierarchy from the ZIP file is maintained after extraction. Miscellaneous file types that cannot be played back within the platform can still be organized, stored, and managed. For miscellaneous files, the download option is enabled by default.
Related Articles
- Understanding ZIP File Support in VIDIZMO
- Upload Your First Media in VIDIZMO
- Understanding Folders in DEMS
- How to Create and Manage Folders in DEM