How to Use Geo Map View
This guide covers how to browse, search, and interact with geo-tagged evidence on the map-based library view. For an overview of what Geo Map View offers, see Understanding Geo Map View.
Prerequisites
- At least one piece of evidence has a geolocation set in its basic info.
Switch to Geo Map View
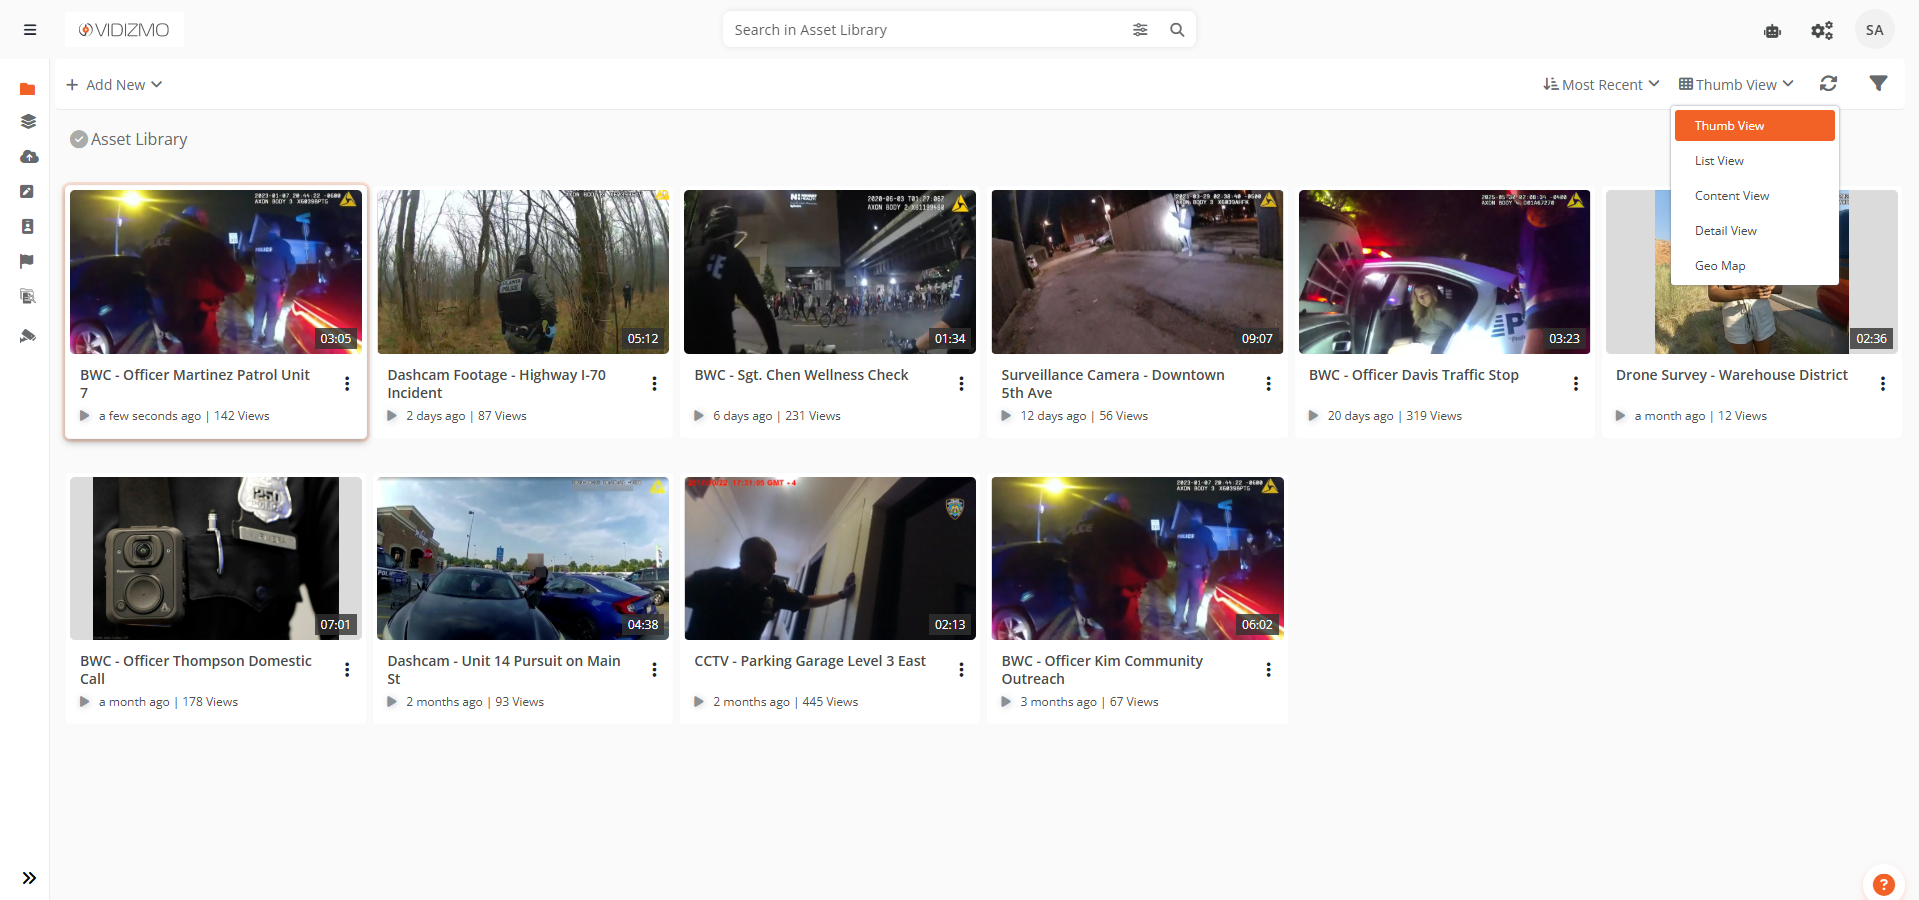
- Open the evidence library from the main navigation.
- In the action bar, select the view dropdown.
- Select Geo Map View.
The map loads centered on your last-viewed position. On first visit, it centers on your approximate location or defaults to a world view.
Search for a Location
- Select the search bar in the top-left corner of the map.
- Type a place name, address, or landmark.
- Select a suggestion from the dropdown.
The map pans and zooms to the selected location.
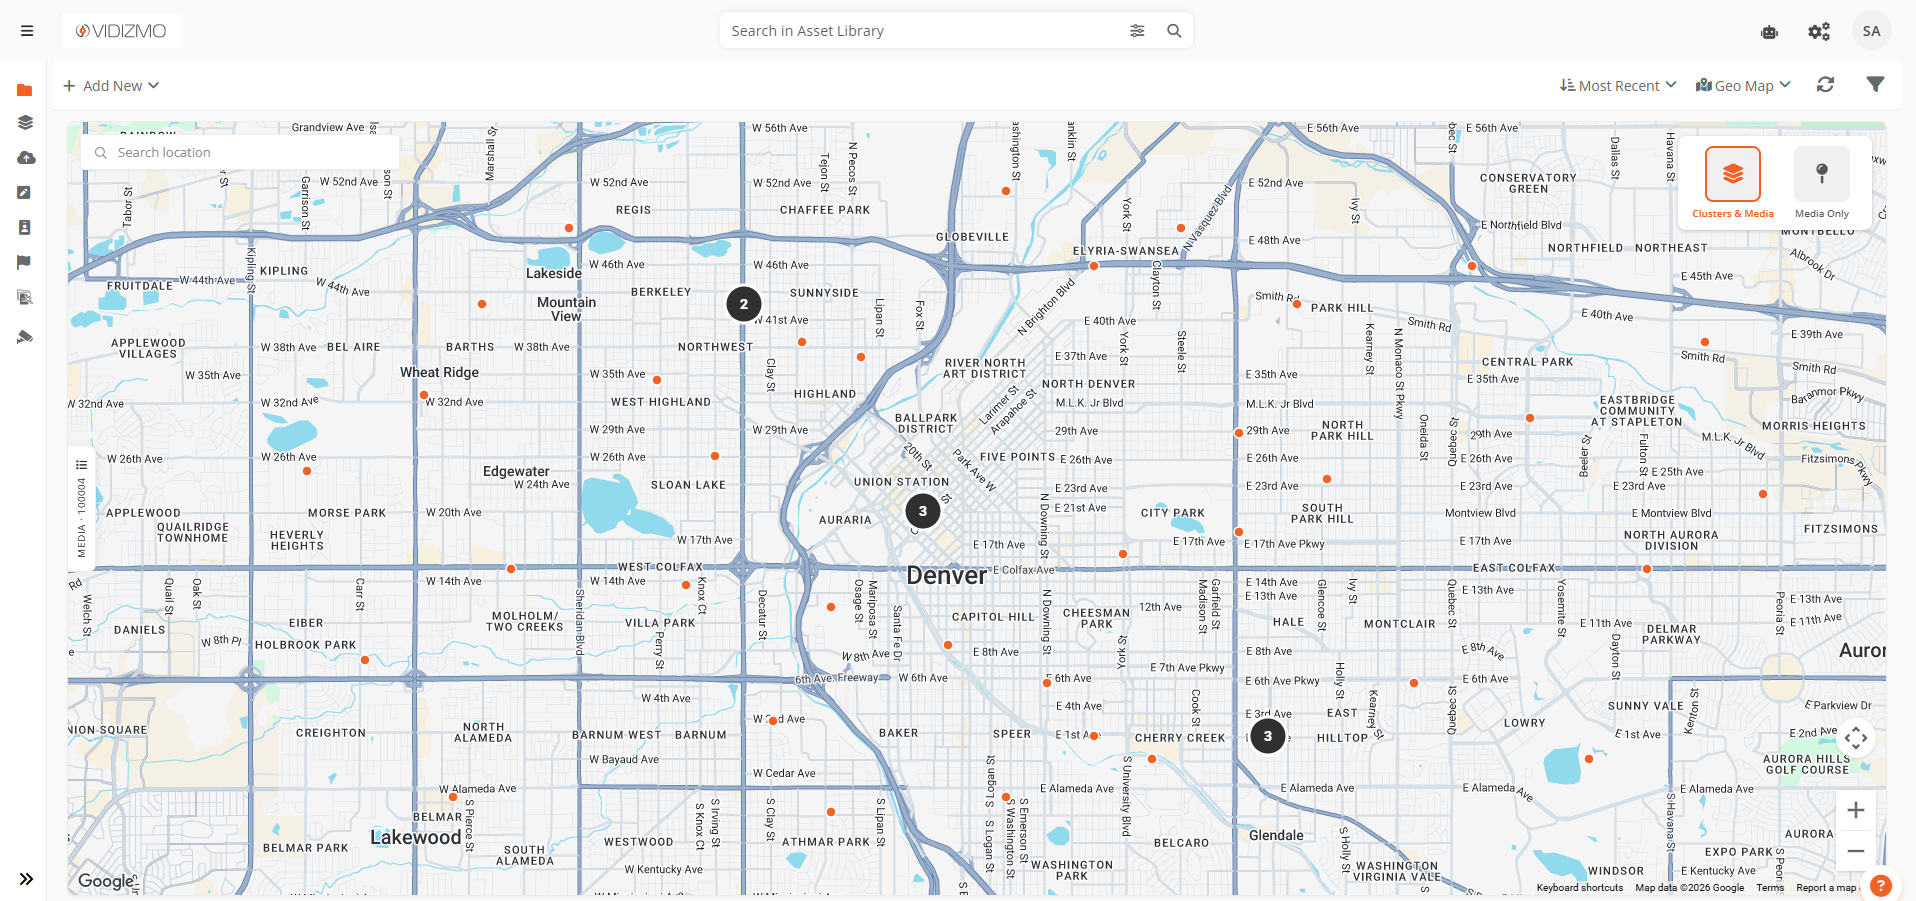
Switch between Viewing Modes
- Select the Layers button in the top-right corner of the map.
- Select one of the two options:
- Clusters and Media — Groups nearby evidence into clusters at wider zoom levels. Individual markers appear as you zoom in.
- Media Only — Shows an individual marker for every piece of evidence regardless of zoom level.
Your selected layer is saved and restored on your next visit.
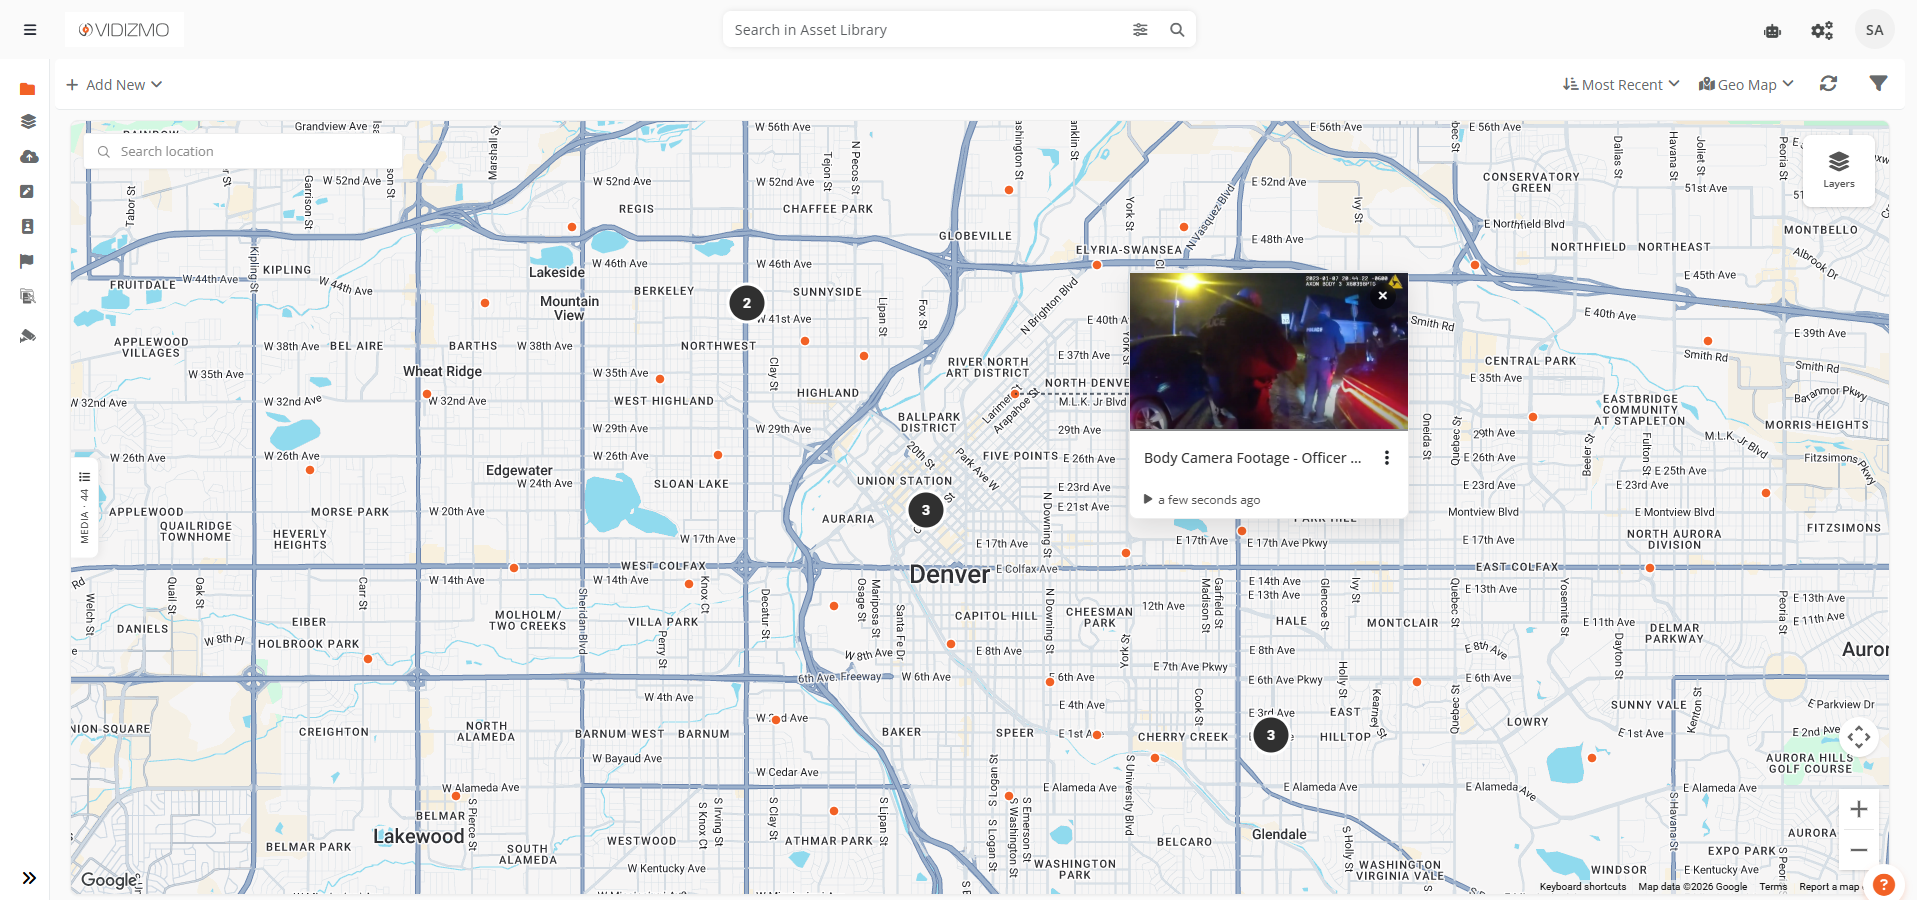
Open an Overlay Card
- Zoom in until individual markers appear on the map.
- Select a marker to open its overlay card.
The card displays the evidence thumbnail, title, action menu, and time since last update.
Note: You can open multiple overlay cards at the same time. Cards stay open as you pan or zoom, and only close when their marker leaves the visible area.
Reposition an Overlay Card
- Hover over an open overlay card until the cursor changes to a grab icon.
- Select and drag the card to a new position on the map.
The tether line connecting the card to its marker updates in real time.
Close Overlay Cards
- Select the X button on a card to close it individually.
- When two or more cards are open, select the Close All button at the bottom-right corner to close all cards at once.
Find Evidence from the List Panel
- Select the panel tab on the left edge of the map to open the list panel.
- Scroll through the list of geo-tagged evidence in the current viewport.
- Select an item in the list.
The map zooms to the evidence location and opens its overlay card.
Note: The list panel supports infinite scroll. More results load automatically as you scroll down. Search keywords and filters from the top bar apply to the panel results as well.
Zoom into a Cluster
In Clusters and Media mode, select a multi-evidence cluster (a dark circle with a count). The map zooms into the cluster area, breaking it into smaller groups or individual markers.
Note: For individual evidence markers (small dots), selecting the marker opens its overlay card directly.
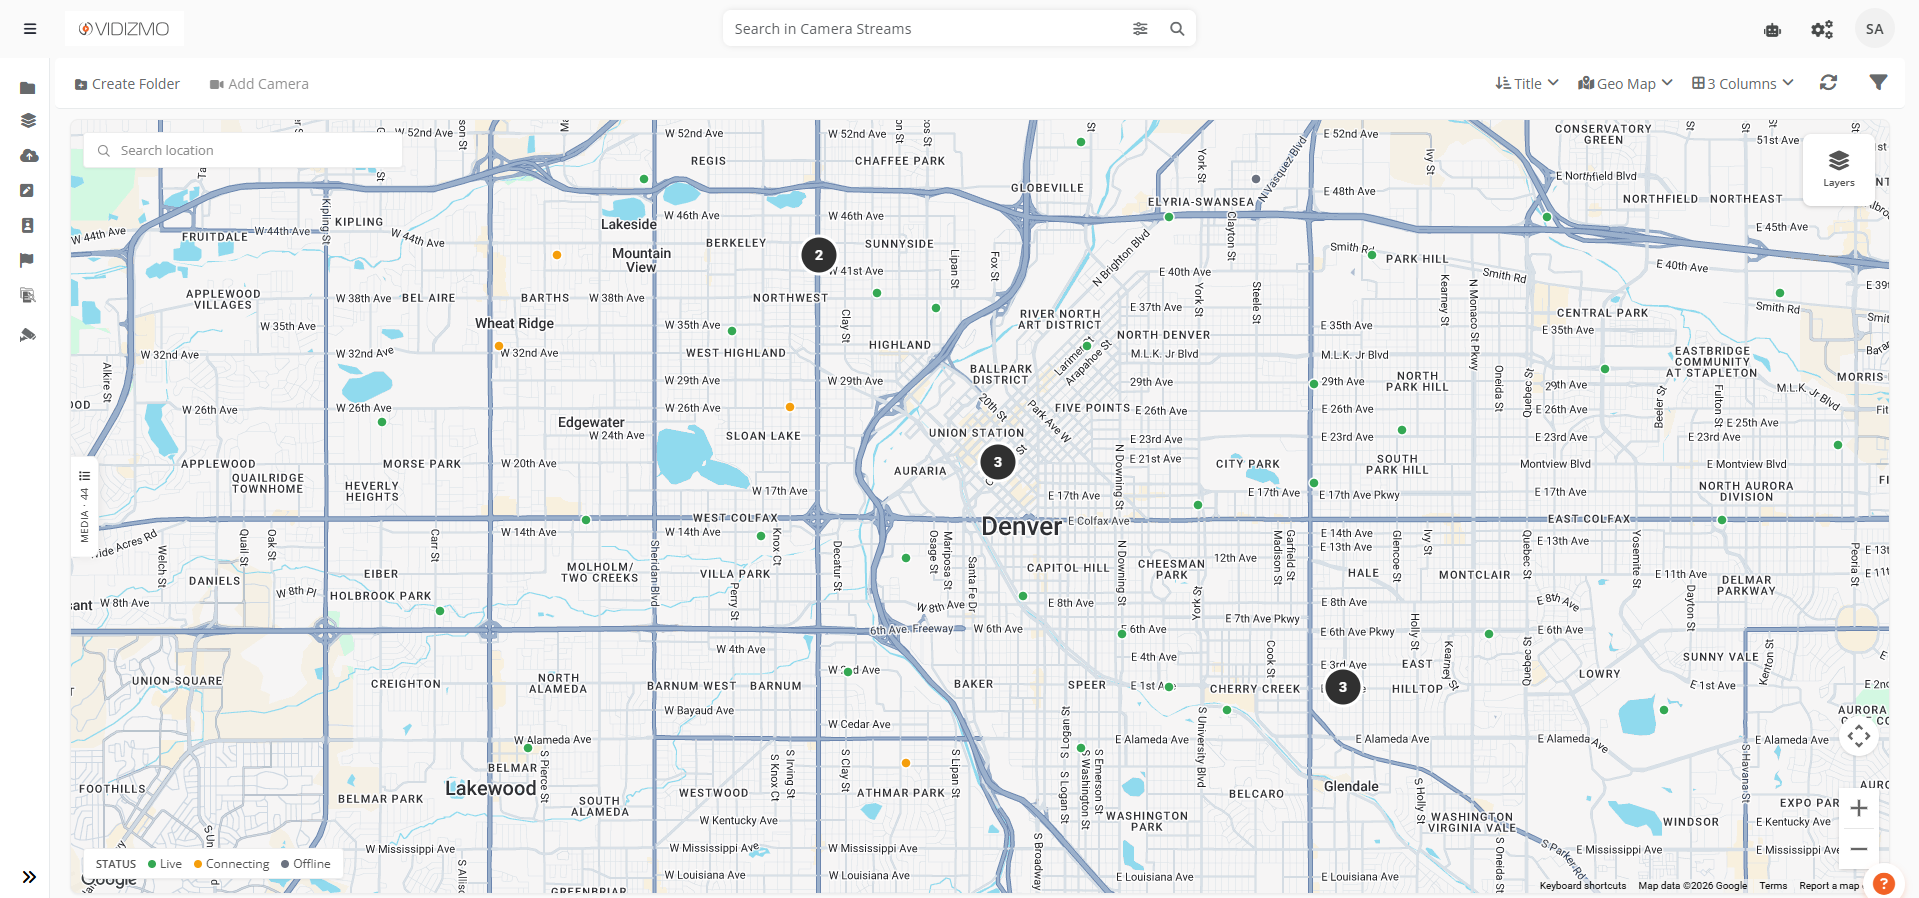
Monitor Camera Status on the Map
These steps apply when Geo Map View is accessed from the Surveillance Library.
Identify Camera Status by Color
Camera markers are color-coded:
- Green — Camera is actively streaming
- Amber — Camera is connecting or reconnecting
- Gray — Camera is offline, disabled, or in an unknown state
A status legend at the bottom-left of the map shows the meaning of each color.
View a Live Camera Feed
- Select a green (streaming) camera marker on the map.
- The overlay card opens with a live video feed embedded directly in the card.
Note: Camera status changes update on the map in real time without a page refresh.